
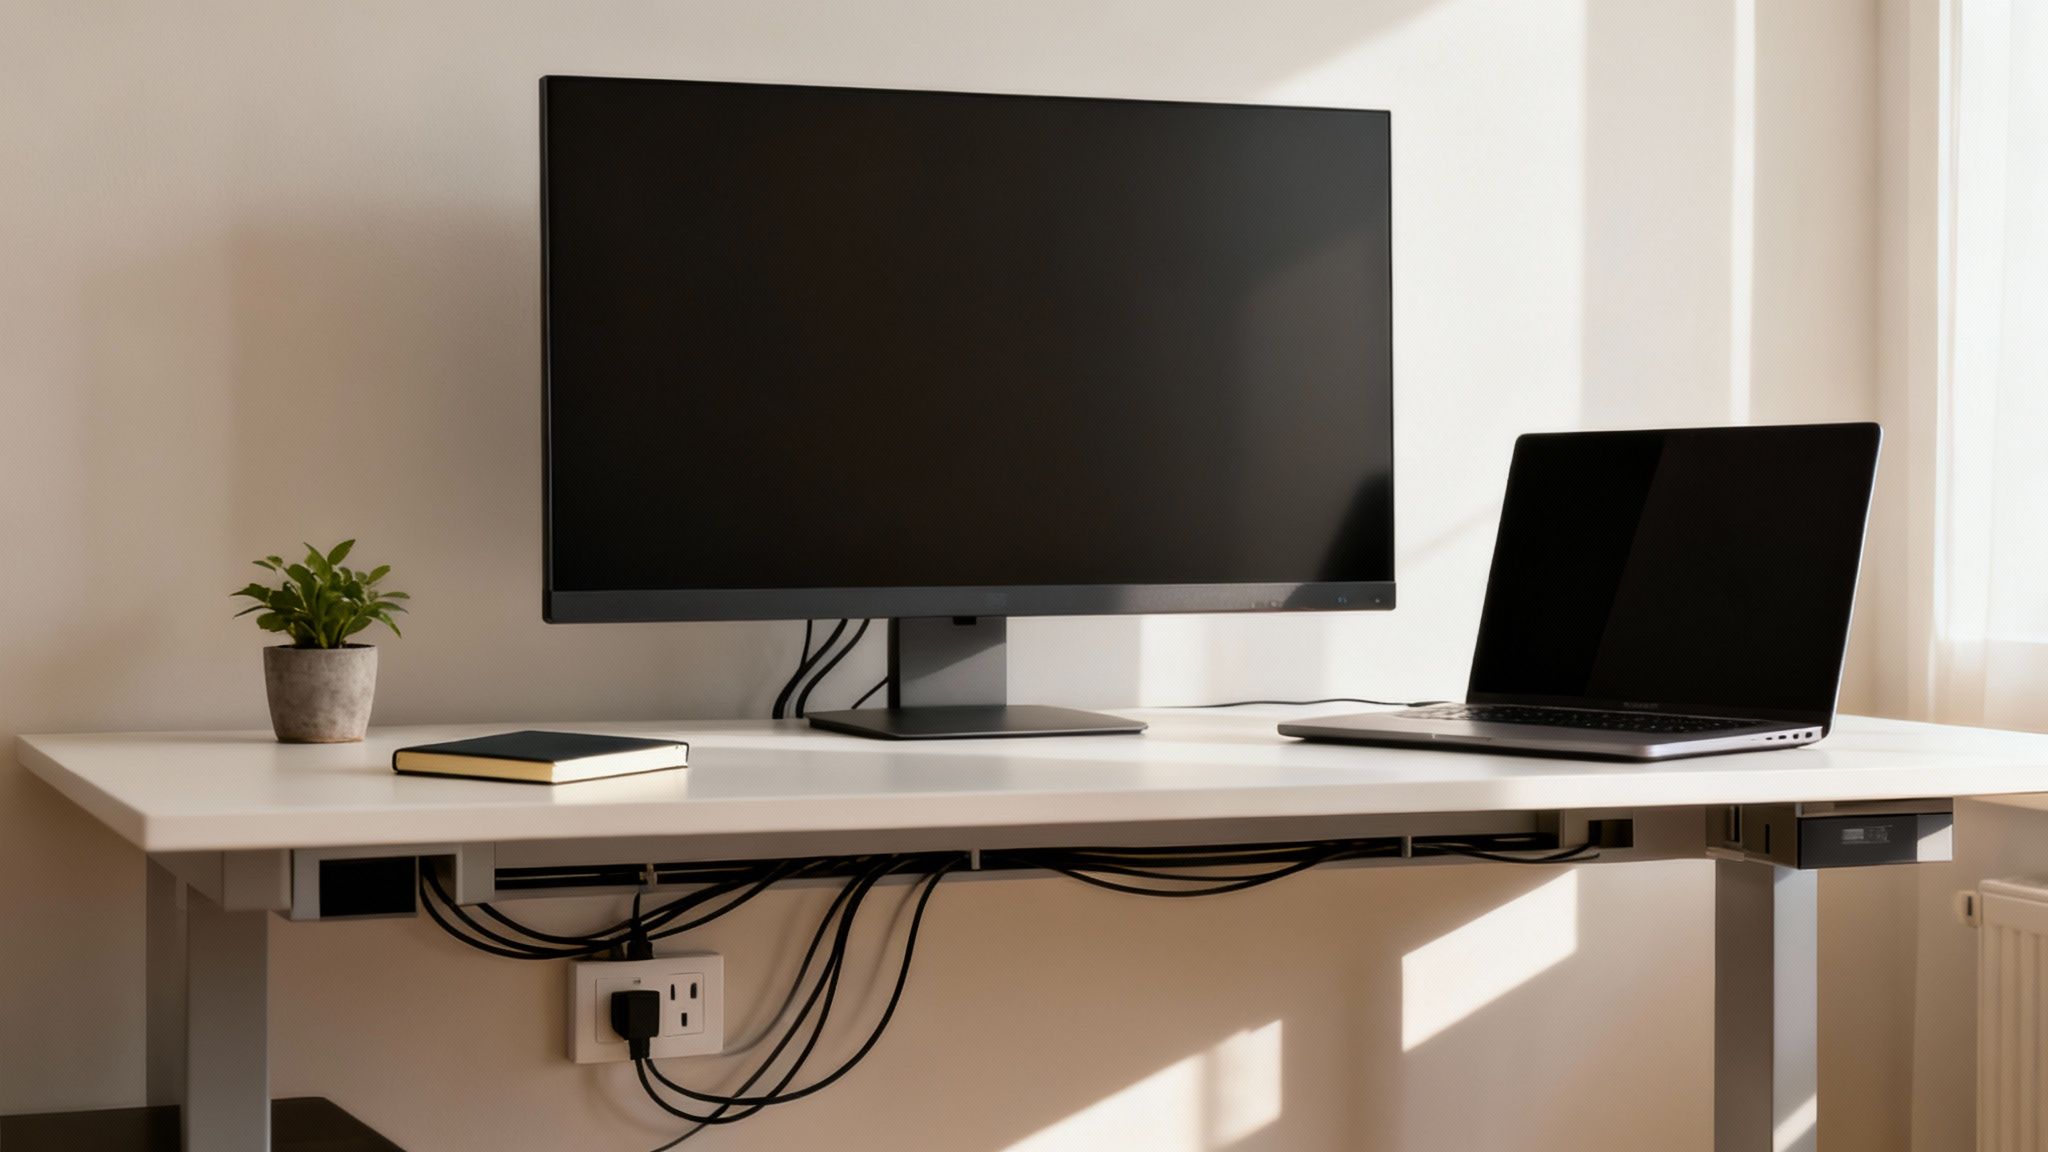
Effective cable management for home office setups is about so much more than just tucking wires out of sight. It's a game plan for creating a workspace that’s safer, more productive, and honestly, just a lot nicer to look at. A smart approach clears away trip hazards, protects your expensive gear from damage, and declutters your desk so you can actually focus.
Why Smart Cable Management Is Essential for Your Home Office
Let's be real: that tangled nest of wires under your desk isn't just ugly—it's a silent productivity killer. In an era where the home office is our professional command center, getting those cords under control has become a necessity, not just a nice-to-have. A clean, organized space really does lead to a clearer, more focused mind, setting you up for a better workday.
This isn't just a feeling; the numbers back it up. The global cable management market was valued at around USD 15.3 billion in 2023 and is expected to hit USD 24.8 billion by 2030. That growth is coming from people just like us, trying to wrangle the ever-increasing number of devices in our home offices. In fact, some reports show a 40% increase in cabling density for modern smart offices, which gives you an idea of how many more cords we're dealing with today. You can explore more about these market trends and what they mean for home office design.
Boosting Productivity and Focus
Visual clutter creates mental clutter. It's that simple. When your workspace is overrun with a spaghetti-like mess of wires, it subconsciously adds to your stress and pulls your attention away from your actual work. A well-managed desk, on the other hand, creates a calm environment that’s perfect for deep work.
Think about it: every time you don't have to untangle a charging cable or trace a wire back to its plug, you're saving a little bit of time and mental energy. It's a small change that adds up to big gains in daily productivity.
A decluttered physical space leads to a decluttered mental space. By investing a small amount of time in organizing your cables, you're investing in your own focus and efficiency for the long term.
Enhancing Safety and Equipment Longevity
Beyond just looking good, proper cable management is a huge safety win. Loose cables snaking across the floor are notorious trip hazards for you, your family, or even your pets. Getting them organized and secured eliminates that risk completely.
It also protects your valuable tech. When cables are tangled and pulled tight, they can get pinched, bent, or strained right at the connection points. Over time, that stress leads to frayed wires, damaged ports, and gear that fails way too soon. By routing your cables cleanly and leaving just enough slack, you extend the life of your monitors, laptop, and all your other peripherals.
Another hidden benefit is better airflow, especially for those bulky power bricks hiding under your desk. Overheating is a common cause of electronic failure, and making sure your power adapters have room to breathe is a simple but effective way to prevent it.
To get started, you'll want to assemble a basic toolkit. These are the core components that form the foundation of pretty much any great cable management project.
Your Cable Management Starter Kit
Here's a quick look at the essential tools that will help you tackle the mess and build a cleaner, more organized home office setup.
| Component | Primary Use | Best For |
|---|---|---|
| Cable Raceway | Hiding and routing cables along flat surfaces like walls or under desks. | Creating clean, straight lines for multiple cables. |
| Cable Sleeve | Bundling a group of cables into one flexible tube. | Managing cords for standing desks or monitor arms that move. |
| Under-Desk Tray | Holding power strips, adapters, and excess cable length. | Keeping bulky items completely off the floor and out of sight. |
| Adhesive Clips | Securing individual cables along a specific path. | Guiding single cords like a mouse or keyboard cable. |
| Velcro/Cable Ties | Tightly bundling groups of wires together for neatness. | Securing cable bundles within raceways or sleeves. |
With these simple items, you have everything you need to transform that wire jungle into a clean, functional, and professional-looking workspace.
Creating Your Cable Management Blueprint
Hold on a second. Before you grab a single zip tie or sleeve, the most important thing you can do is just… pause and plan. The real difference between a quick fix that falls apart in a week and a clean, lasting setup is all about strategy. Think of this as the architectural phase of your project. A few minutes of foresight here will save you hours of frustration later.
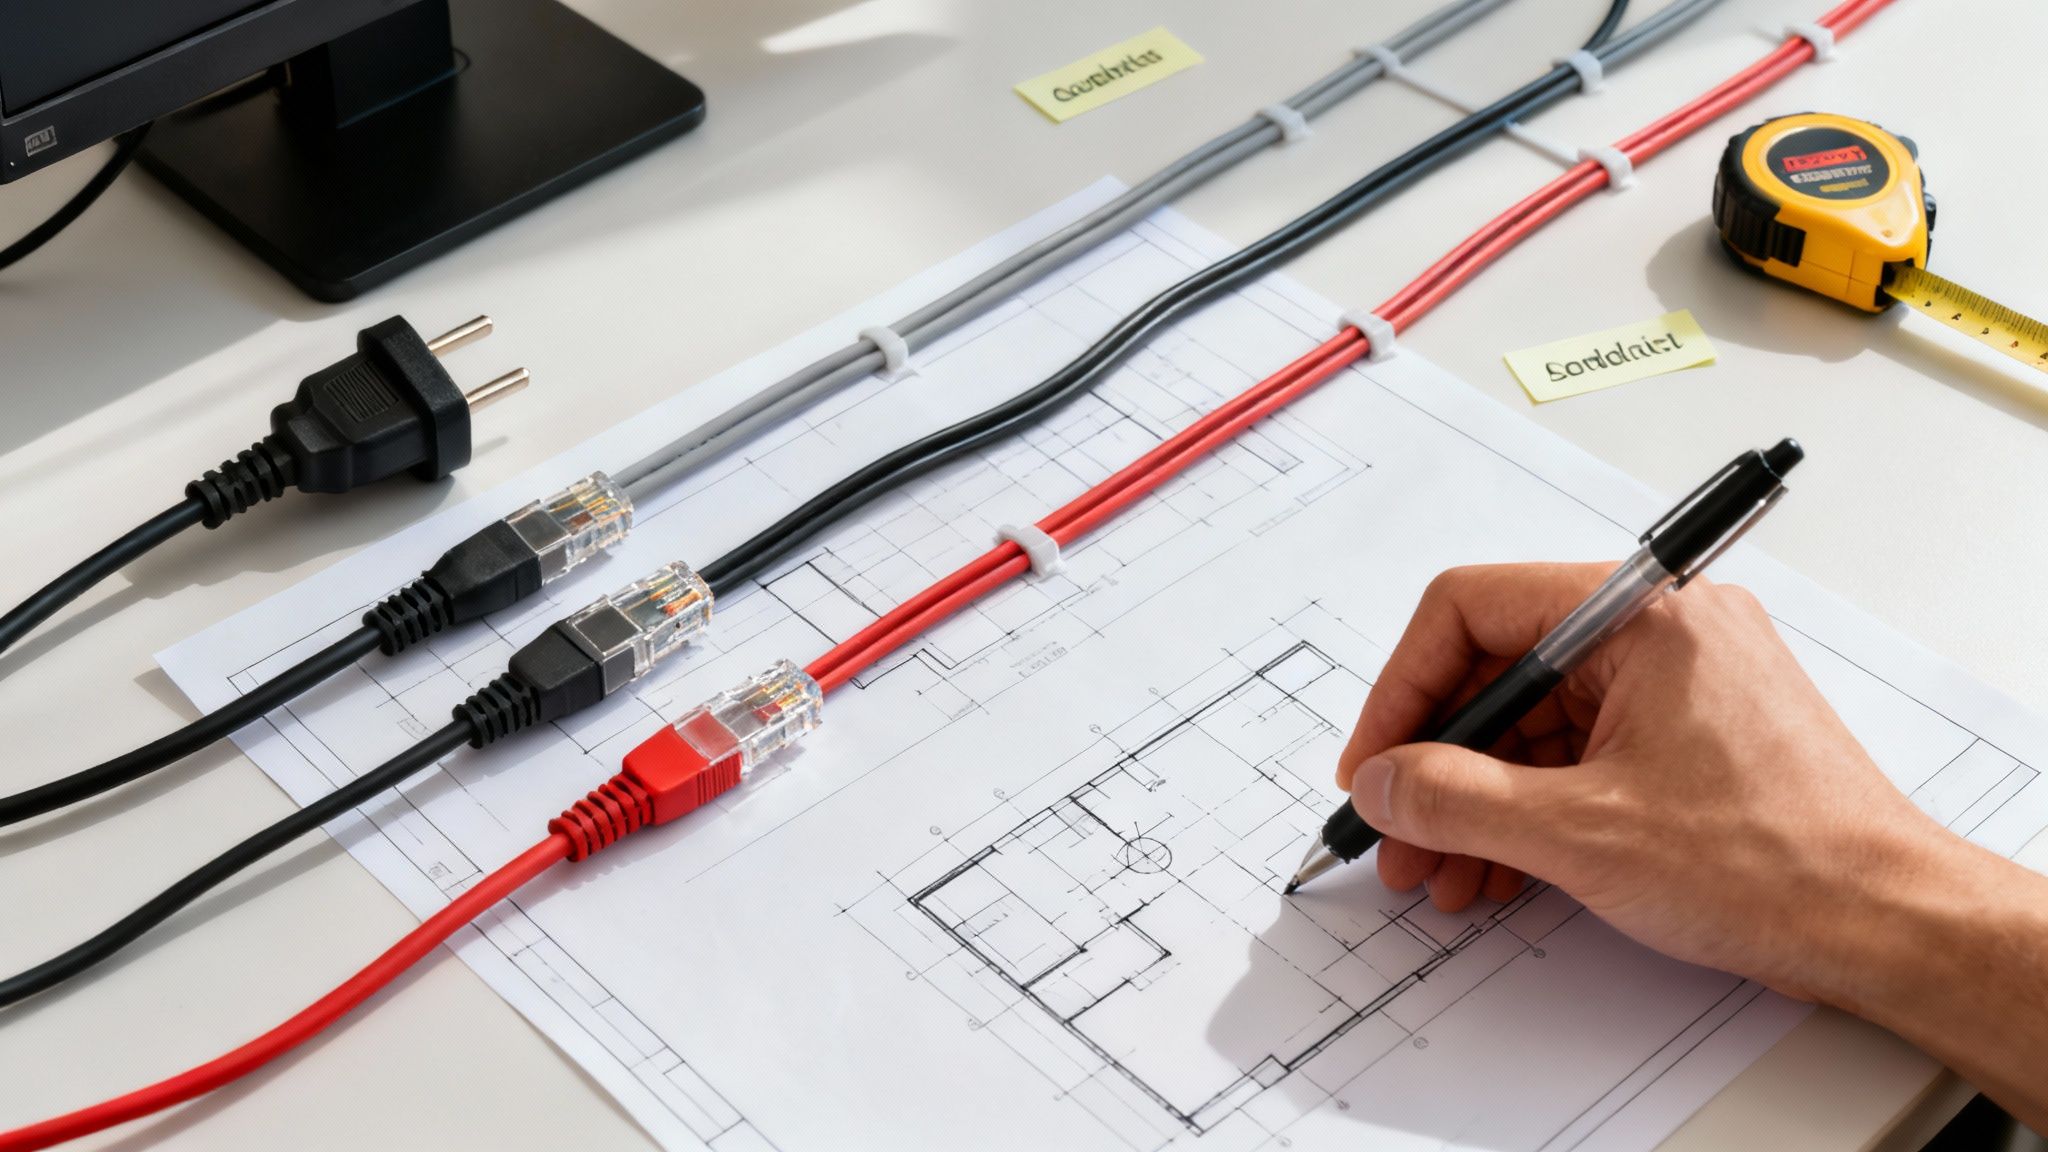
This planning stage is where you create the blueprint for your cable management for home office system. It’s where you map out exactly where everything will go, giving every cable a clear path before you even start the physical work. Trust me, this approach saves time and always delivers a cleaner, more functional result.
Conduct a Thorough Cable Audit
First things first: you need to know what you’re up against. Unplug everything from the power strip and disconnect all your devices. This "cable audit" forces you to get real about every single cord—from the obvious monitor and computer cables to the ones you always forget, like for speakers, webcams, or that USB hub.
Lay them all out on the floor. I guarantee you’ll be surprised by how many there are. This is also a fantastic chance to spot any redundant or unnecessary cables you can get rid of completely, which is an instant decluttering win.
Pro Tip: While you're auditing your cables, give them a quick inspection. If you find anything that's old, frayed, or damaged, now is the perfect time to replace it. A clean setup should also be a safe and reliable one.
With everything laid bare, you can finally see the true scope of the project. This audit is your inventory, and it's the foundation of your whole plan.
Group Your Cables by Function
Next, start sorting those cables into logical groups. It’s a simple organizational step that makes both the initial setup and any future troubleshooting infinitely easier. You wouldn't just toss all your kitchen utensils into one drawer, right? The same logic applies here.
- Power Cables: Get all the power cords and their bulky adapters together. These will almost always run from your devices to a single power strip.
- Data Cables: This group includes your USB, Ethernet, HDMI, and DisplayPort cables. Think of these as the communication lines between your computer, monitors, and peripherals.
- Audio/Visual Cables: Cords for speakers, microphones, and webcams belong here. Keeping them separate can sometimes help prevent signal interference, which is a nice bonus.
Grouping cables like this makes bundling them way more effective. For instance, all the data cables heading to your monitor can be tucked into a single sleeve, creating a much tidier look with minimal effort.
Chart the Most Efficient Routes
With your cables sorted, it's time to play traffic controller. The goal here is to find the shortest, most discreet paths from each device to its destination, whether that’s the power strip or your computer. Think like an electrician routing wires through a wall—you want to follow the natural lines of the desk and keep everything hidden from view.
Take a good look at your desk’s structure. Can you run cables along the back edge or down a leg? An under-desk cable tray is often the perfect central "hub" for stashing power bricks and bundling up any extra slack. For a really polished look, you might want to learn about installing a cable raceway for a professional finish.
This step is absolutely critical if you have a standing desk. You have to account for the desk's full range of motion. Route the cables with plenty of slack—often in a gentle "S" curve inside a flexible sleeve—so they don't get yanked or pinched when the desk moves. A golden rule here is to mount the power strip directly to the underside of the desk itself. That way, only one main cord ever has to travel from the desk to the wall outlet.
Picking the Right Cable Management Tools for Your Desk
Once you've mapped out your cable routes, it's time to choose your gear. The world of cable management is surprisingly big, but you don't need one of everything. The goal is to pick the right tools for your specific problems, making sure every dollar spent helps create a cleaner, more functional home office.
Think of it like this: you wouldn't use a hammer to drive a screw. In the same way, a flexible fabric sleeve and a rigid plastic raceway are both fantastic tools, but they shine in completely different situations. I’ll walk you through the most popular options and show you where each one really works best, so you can build the perfect kit for your desk.
The Foundation: Under-Desk Trays and Baskets
Let's start with the heavy lifters of cable management: under-desk trays. These are your absolute best friends for hiding the bulkiest and most awkward items—we're talking chunky power bricks, massive surge protectors, and all the extra cable slack you need to get out of sight.
An under-desk tray or basket attaches right to the bottom of your desk, creating a hidden shelf that gets everything off the floor. This is a game-changer for looks and safety. It doesn't just make your workspace feel instantly cleaner; it also improves airflow around your power adapters to help prevent overheating. To see how these can completely transform a setup, check out our in-depth guide to under-desk cable management solutions.
By moving your power strip from the floor to an under-desk tray, you anchor your entire system to the desk itself. This is the single most effective trick for managing cables on a standing desk, as it allows all your device cords to move up and down with the desktop.
Creating Clean Lines: Raceways vs. Sleeves
Now, let's talk about routing the cables themselves. Your two main choices are rigid raceways and flexible sleeves, and they often work best when you use them together.
- Cable Raceways: These are rigid plastic channels, often with an adhesive backing, that are perfect for creating clean, straight lines. Think of them as highways for your cables, ideal for running a bundle of wires along the back edge of your desk or down a leg for a nearly invisible finish.
- Fabric Sleeves: These are flexible, zip-up tubes of fabric. A sleeve is the perfect solution for bundling cables that need to move, like those connected to a monitor on an adjustable arm or the main power bundle running from a standing desk. They group messy individual cords into a single, tidy spine.
A common strategy is to use a raceway for the main, fixed path under the desk and then switch to a flexible sleeve for the "last mile" connection to a device that moves.
The industry is constantly evolving to meet the needs of modern home offices. In fact, the integration of smart home technology is a major driver, with the cable management market projected to hit USD 35.0 billion by 2032. This growth is fueled by consumer demand for products that are not only effective but also versatile and easy to install without professional help—a trend that perfectly aligns with the needs of remote workers creating ergonomic and clean workspaces. Discover more insights about the growing cable management market.
Before we get to the finishing touches, let's break down these core solutions. Choosing the right tool from the start saves a lot of headaches later.
Cable Management Solution Comparison
| Solution | Best For | Installation Difficulty | Flexibility |
|---|---|---|---|
| Under-Desk Tray/Basket | Hiding power bricks, surge protectors, and excess cable slack. | Medium (usually requires drilling) | Low (fixed in place) |
| Adhesive Raceway | Creating clean, straight cable runs along flat surfaces like desk edges or legs. | Low (peel and stick) | Low (not meant to be moved) |
| Fabric Sleeve | Bundling cables that need to move, like for standing desks or monitor arms. | Low (wrap and zip) | High (very flexible) |
| Velcro/Reusable Ties | Grouping small bundles of cables together; easy to add or remove cords. | Low (wrap and secure) | High (infinitely adjustable) |
| Adhesive Clips | Guiding single cables along a specific path to keep them from snagging. | Low (peel and stick) | Low (best for one cable) |
This table should give you a clear idea of where each tool fits. A great setup usually involves a combination of these, playing to each one's strengths.
The Finishing Touches: Clips, Ties, and Mounts
Finally, you have the smaller accessories that add that final polish. These are the tools for wrangling individual cords and making sure everything is locked in place.
- Adhesive Cable Clips: These small clips are fantastic for guiding a single stubborn cable—like your mouse or keyboard cord—along a precise path to keep it from snagging.
- Velcro or Reusable Cable Ties: Far better than single-use plastic zip ties, these let you bundle cables together neatly. Their reusability is key, making it simple to add or remove a cable down the road without any tools.
By thoughtfully combining these core components—trays for bulk, raceways and sleeves for routing, and clips and ties for the details—you can create a custom cable management for home office system that perfectly suits your setup and budget.
A Practical Guide to Installing Your New Setup
Alright, the planning is done and your gear has arrived. Now for the fun part: bringing that clean, organized vision to life. This is where you get to see all that prep work pay off as the cable chaos finally gets tamed. We'll walk through the whole process, from mounting the core components to routing every last wire with precision.
The trick is to be methodical. If you follow a logical order, you'll avoid the frustration of having to undo your work later. I'll cover the best ways to install both adhesive and screw-in mounts and share some hard-won tips for tricky situations, like dual-monitor rigs and standing desks.
Mounting Your Core Components
Before you even think about touching a cable, you need to install the backbone of your system. This means getting your under-desk cable tray or basket and any rigid raceways in place first. Think of these as the superhighways for your future cable routes—installing them now gives you a clear structure to build upon.
When it comes to under-desk trays, you’ve got two main installation options:
- Screw-In Mounts: This is the gold standard for a secure, permanent hold. Before drilling, measure your desk's thickness and pick screws that are at least a quarter-inch shorter. A great pro tip is to wrap a bit of tape around your drill bit to mark the perfect depth—it's a simple way to guarantee you won't accidentally drill through the top.
- Adhesive Mounts: A lot of modern solutions come with powerful adhesive tape for a no-drill setup. For this to work, the surface has to be spotless. Grab an alcohol wipe and clean the underside of your desk to remove any dust or oil, then press the mount firmly for at least 30-60 seconds to create a solid bond.
Once your tray is locked in, do the same for any raceways you're using along the back or sides of the desk.
Routing and Bundling Your Cables
With the framework in place, you can start running your cables along the paths you mapped out. Start with the power strip, placing it securely inside your new under-desk tray. Then, run the power cords from your computer, monitors, and other gear to the strip. Any bulky power bricks can be tucked neatly inside the tray, too.
This is where the magic happens. As you run your data cables (like HDMI and USB), group them together with reusable Velcro ties. They're much better than zip ties because you can easily add or remove a cable later without needing scissors.
Pro Tip: Always leave a bit of extra slack at both ends of a cable, especially for things you might move around, like a laptop. A "service loop" prevents strain on the ports and makes unplugging devices a breeze. A cable pulled taut is just asking for trouble down the line.
To keep it simple, think about the process in a few distinct phases: Gather, Contain, and Route.
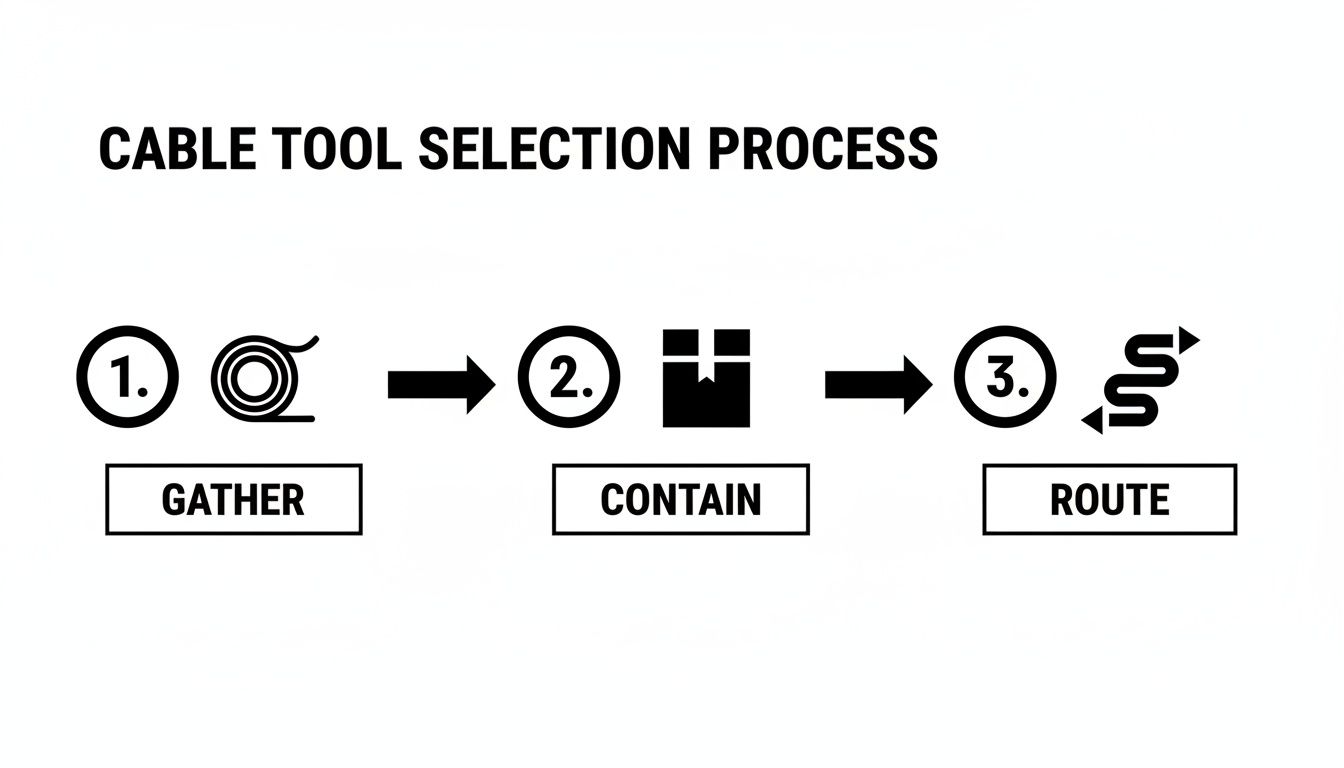
Breaking it down like this stops you from feeling overwhelmed and leads to a much tidier result.
Addressing Specific Scenarios
Not all desks are the same, and some setups come with unique challenges. A multi-monitor rig or a standing desk requires a slightly different approach.
For Dual-Monitor or Ultrawide Setups:
The key here is to manage the cables for each monitor individually before bringing them all together. Bundle the power and display cables for your first monitor, securing them to the monitor arm with Velcro ties. Do the same for the second one. Then, guide both neat bundles into your main raceway. This keeps everything organized and makes it obvious which cables belong to which screen.
For Standing Desks:
Flexibility is everything. The number one rule for standing desks is to mount your power strip directly to the underside of the desktop itself. This is a game-changer. It means only one cable—the one from the power strip to the wall—needs enough slack to move up and down. All your other device cables can be kept short and tidy because they only need to reach the strip on the desk.
A flexible fabric sleeve is your best friend here. It gathers all the wires running to the wall into a single "spine" that flexes as the desk moves. Before you call it a day, test the desk's full range of motion, from its lowest to highest setting, to make sure nothing is pulling tight. If you're looking for other ways to hide cords, you can find a whole range of cable hider solutions that work for any space.
The Final Touches for a Polished Look
With the heavy lifting done, it's time for the small details that take a setup from good to great. Use small adhesive clips to guide individual keyboard and mouse cables along the back edge of your desk. This keeps them from dangling and leaves your workspace completely clear.
Finally, think about adding simple labels to your cables, especially if you have a bunch of similar-looking USB or power cords. A cheap label maker or even just a bit of masking tape and a marker can save you a massive headache months from now. It’s a tiny step that makes your setup truly functional and easy to maintain.
Mastering Power Management and Workspace Safety
Good cable management for home office setups isn't just about making your desk look good—it's one of the most critical parts of creating a safe and reliable workspace. A tidy desk is a safe desk, and that starts with how you handle power.
Managing your electrical connections the right way protects your expensive equipment, prevents fire hazards, and frankly, just gives you peace of mind.
This isn't just a niche hobby anymore. Professionals are prioritizing organization and safety, turning North America into a key market for cable management valued at USD 8,219.05 million in 2023. That growth is fueled by remote workers who see a clean setup not as a luxury, but as a core part of a productive and secure home office. You can read the full research about these market trends to see how the mindset is shifting.
Choosing the Right Surge Protector
Let's get one thing straight: not all power strips are created equal. The single most important piece of your power management puzzle is a quality surge protector. Think of it as a gatekeeper, shielding your sensitive electronics from random, damaging voltage spikes.
When you're shopping for one, the most important number to look for is the joule rating. Joules are like a reservoir of protection—the higher the number, the more energy the surge protector can absorb before it gives up.
- For basic peripherals like lamps or phone chargers, a rating of 200 to 400 joules is usually fine.
- For core office equipment like your laptop and monitors, you'll want something in the 600 to 1,000 joule range.
- For high-end gear like a gaming PC or a complex multi-monitor setup, aim for 1,000 joules or more for maximum protection.
A higher joule rating doesn't just offer better protection; it means it will last longer. Once those protective components are worn out from absorbing spikes, it’s just a plain old power strip.
The Dangers of Daisy-Chaining
One of the most common—and most dangerous—mistakes people make is daisy-chaining. That's when you plug one power strip into another to get more outlets. This is a huge no-no. It can seriously overload the wall outlet and the first power strip, creating a very real fire hazard.
Never, ever plug multiple power strips into each other. Your wall outlet is designed to handle a specific maximum amount of power. Daisy-chaining is a surefire way to exceed that limit, which can lead to overheating, short circuits, and a potential disaster for your home and your gear.
If you're out of outlets, the right move is to invest in a single surge protector with enough ports for all your devices. If you truly need more, plug it into a separate wall outlet.
Handling Bulky Power Bricks Safely
We all have them: those big, clunky power bricks for monitors, laptops, and docking stations. They're not just ugly—they're a hidden safety risk. These bricks generate a surprising amount of heat and need proper ventilation to work safely.
Piling them on the floor under your desk is the worst thing you can do. It traps all that heat, which can shorten their lifespan and even damage the devices they're powering.
The best practice is to get them up off the floor and into an under-desk cable tray or basket. This tucks them out of sight while—most importantly—giving them the airflow they need to stay cool. It's a simple step, but a critical one for maintaining a safe and efficient cable management for home office system.
Common Questions About Home Office Cable Management
Even the best-laid plans can hit a snag. When you're deep into your cable management project, a few specific challenges always seem to pop up. That’s completely normal.
Think of this as the troubleshooting guide for getting over those final hurdles. We'll tackle the most common questions that arise, giving you clear, straightforward answers to get you to that clean, frustration-free finish line.
How Do I Manage Cables for a Standing Desk Without Them Pulling?
This is the number one question for anyone with a sit-stand desk, but the fix is simpler than you’d think. The goal is to make your entire desktop—monitors, computer, and all—into a single, self-contained unit that moves as one.
The real game-changer is to mount your power strip directly to the underside of the desk. An under-desk cable tray is perfect for this, but even heavy-duty Velcro will do the trick. Once it’s attached, all your devices only need to plug into the desk itself, not the wall outlet far below.
Next, gather the few cables that do run from the desk to the wall and bundle them into a single flexible fabric sleeve. This creates a clean "spine" with enough slack to glide smoothly up and down as you adjust your desk height.
Crucial Tip: Before you lock everything down, test the full range of motion. Raise the desk to its highest point and lower it all the way down. Make sure no cables are getting pulled tight or pinched anywhere. This one quick check can save your gear from damage down the road.
What Is the Best Way to Hide a Bulky Power Brick?
Ah, the power brick. Heavy, awkward, and the enemy of every clean setup. Leaving them on the floor is a magnet for dust and a potential fire hazard from poor ventilation. The best solution by far is an under-desk cable management tray or basket.
These accessories create a hidden shelf right under your desktop. Just place your power bricks, surge protector, and any extra cable slack inside. They’re instantly off the floor, out of sight, and have plenty of airflow to prevent overheating.
Looking for a no-drill option? Try some heavy-duty adhesive Velcro strips. Stick one side to the power brick and the other to the back of your monitor or a hidden spot under your desk. It's a surprisingly secure way to get them off the ground.
Are Fabric Sleeves Better Than Plastic Raceways?
This is a classic "right tool for the job" situation. Neither is better than the other; they just solve different problems. In fact, most professional-grade setups use both.
- Plastic Raceways are rigid channels made for creating clean, straight lines on fixed surfaces. They’re perfect for running cables along the back edge of your desk or down a leg, providing a structured, almost invisible path.
- Fabric Sleeves are flexible, zip-up tubes designed to bundle cables that need to bend and move. They are the go-to solution for cords coming off an adjustable monitor arm or for that flexible "spine" on a standing desk.
Think of it this way: a raceway is the main highway, and a sleeve is the on-ramp that guides cables from your moving parts into it.
Is It Safe to Drill Into My Desk for Installation?
For most desks made of wood, MDF, or particleboard, the answer is yes—as long as you take a couple of simple precautions. The biggest fear is drilling right through to the top, but that's easy to prevent.
First, measure the thickness of your desktop. Then, pick screws that are at least a quarter-inch shorter than that measurement. For a foolproof method, wrap a small piece of painter's tape around your drill bit to mark the exact depth you need to stop. This little visual cue makes it almost impossible to drill too far.
Always check the underside for any metal support frames or hardware before you start. And if you're still hesitant, many high-quality under-desk trays and raceways now come with powerful adhesive options that provide a strong, drill-free alternative.
Ready to build a cleaner, more efficient workspace? EVEO provides the industry-leading monitor arms, under-desk trays, and cable management kits you need to create a professional and organized home office. Explore our solutions and start your transformation today.
The Best Way to Organize Cables for a Clutter-Free Space
How to Remove Static from Vinyl Records for a Pristine Sound