To clean your computer screen the right way, start by shutting down your device and giving it a quick wipe with a dry microfiber cloth to get rid of any loose dust. For those stubborn smudges, lightly dampen a separate microfiber cloth with either distilled water or a dedicated screen cleaner. Gently wipe the screen—never spray liquid directly onto the display.
Why Careful Screen Cleaning Actually Matters
Before you reach for the nearest rag and any old cleaning spray, it’s worth understanding that cleaning your screen is about so much more than just appearances. A smudged, dusty display isn’t just distracting; it can actually cause digital eye strain by forcing your eyes to work harder to see past the grime. Over time, that constant refocusing can lead to headaches and fatigue.
On top of that, computer and laptop screens, especially touchscreens, are high-contact surfaces. They’re magnets for fingerprints, oils, and all sorts of airborne particles, quickly becoming a breeding ground for germs. Keeping your display pristine isn't just an aesthetic choice; it’s a simple matter of workplace hygiene and personal health.
Protecting Your Investment
Modern computer screens are sophisticated pieces of tech, often treated with special anti-glare coatings. Using the wrong cleaning methods can cause permanent, costly damage you can’t undo.
Harsh chemicals found in household products like window cleaner or all-purpose sprays are notorious for stripping away these essential anti-glare and oleophobic (oil-repellent) layers. One wrong move and you’re left with a cloudy, splotchy mess that can’t be fixed.
Likewise, abrasive materials like paper towels or that old t-shirt you were about to use can create thousands of micro-scratches on the delicate surface. While you might not see them at first, these tiny scratches build up and eventually dull the display, killing its clarity and vibrancy.
Using a gentle, specific approach is non-negotiable for today's displays. The goal is to remove contaminants without altering the screen's factory finish, preserving both its visual quality and lifespan.
This growing awareness is reflected across the market. Global demand for screen cleaners jumped from approximately $1,473.5 million in 2021 to $1,844.7 million by 2025—a leap of over $370 million in just a few years. This trend shows just how much people are realizing the value of using the right products. You can dive deeper into the full report on screen cleaner market trends to see the data for yourself.
Understanding these risks and benefits is the first step toward mastering how to clean your computer screen the right way.
Gathering the Right Tools for a Perfect Clean
The secret to a perfectly clear, streak-free screen isn’t about aggressive scrubbing or complicated techniques. It really just comes down to one simple thing: using the right tools for the job.
Before you even think about wiping down your display, putting together a small, dedicated cleaning kit is the single most important step you can take. It’s what stands between you and accidental damage. This doesn't mean you need a bunch of expensive or hard-to-find gear. The core of any effective screen cleaning arsenal is surprisingly minimal, focusing on gentle materials that lift away grime without harming the delicate surface.
The Essential Screen Cleaning Toolkit
Your journey to a spotless screen starts with one hero item: the microfiber cloth. It's not just any old rag. Its unique, ultra-fine fibers are designed to trap and lift dust, oil, and smudges using an electrostatic charge, rather than just pushing them around.
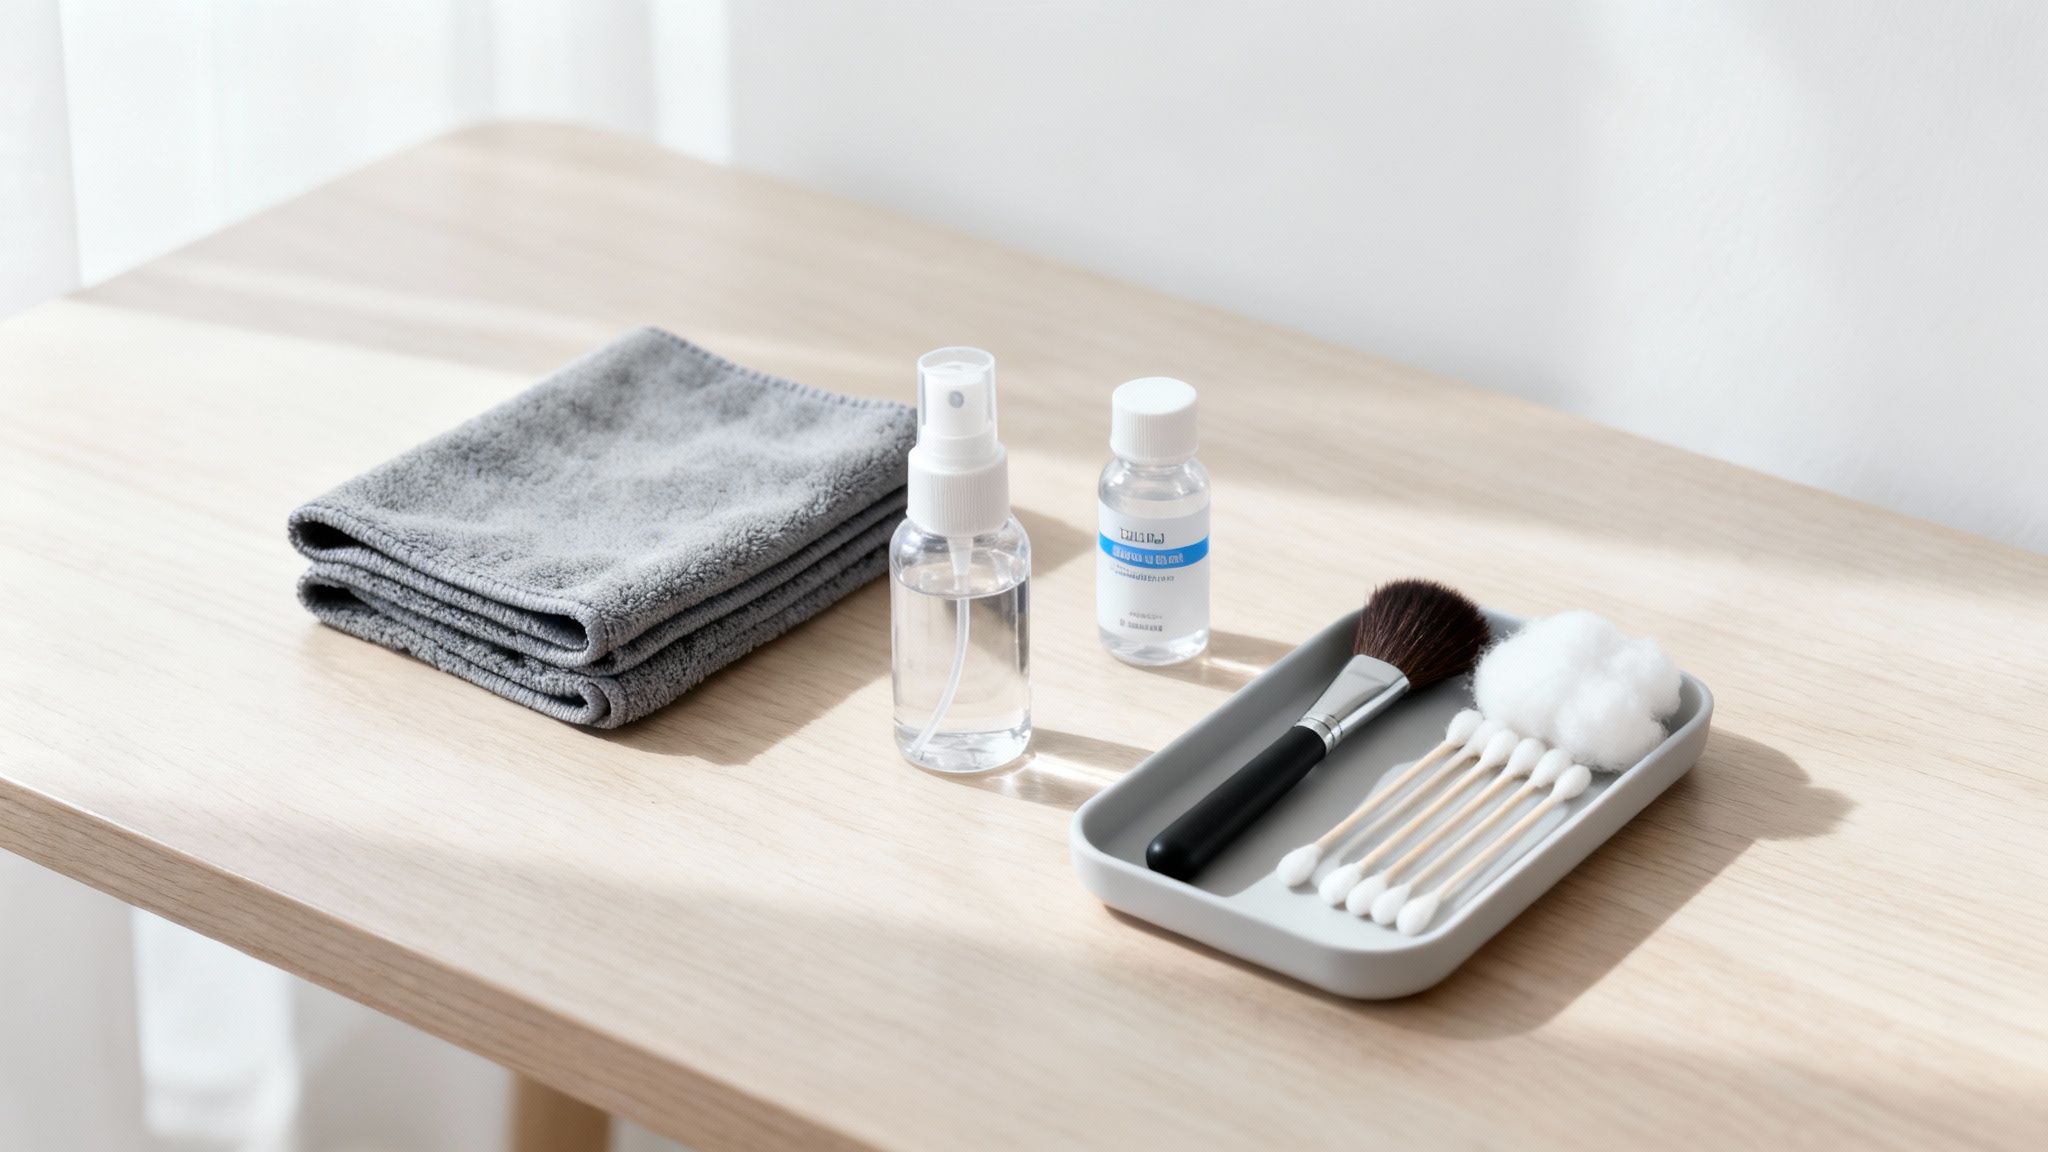
Here’s what your go-to kit should have:
- Two High-Quality Microfiber Cloths: One for a dry pass to pick up dust, and a separate one for damp cleaning. This keeps you from smearing old dirt back onto the screen.
- A Safe Cleaning Solution: This can be as simple as a small spray bottle of distilled water, or a professionally formulated screen cleaner that is explicitly labeled as alcohol- and ammonia-free.
- Compressed Air (Optional): A can of compressed air is fantastic for blowing loose dust and crumbs out of keyboards and away from screen edges before you start wiping.
A common mistake is grabbing whatever soft fabric is nearby. Paper towels and cotton cloths are your screen's worst enemies—they leave behind lint, and their coarse fibers can create thousands of micro-scratches, permanently dulling your display over time. Stick with microfiber. It's non-negotiable.
What to Absolutely Avoid
Just as important as knowing what to use is knowing what to leave under the kitchen sink. Many common household cleaners contain harsh chemicals that are an absolute disaster for modern screen coatings.
To make it simple, here’s a quick-reference chart to help you choose the right materials and sidestep the wrong ones.
Screen Cleaning Toolkit: Safe vs. Unsafe
| Item | Verdict | Reasoning |
|---|---|---|
| Microfiber Cloth | Safe | Traps dust effectively without scratching or leaving lint. |
| Distilled Water | Safe | It’s free of the minerals that cause streaks and residue. |
| Specialized Screen Cleaner | Safe | Formulated to be alcohol- and ammonia-free for modern screens. |
| Paper Towels | Unsafe | The abrasive wood fibers can easily scratch the screen's surface. |
| Window Cleaner | Unsafe | Often contains ammonia, which strips away anti-glare coatings. |
| Rubbing Alcohol | Unsafe | Can damage protective coatings, leading to discoloration or haziness. |
| Tap Water | Unsafe | Contains minerals that leave behind chalky white spots when they dry. |
Choosing the right liquid is just as critical as choosing the right cloth. Thankfully, you don’t have to guess. The market is full of alcohol-free and non-toxic products designed specifically for today’s sensitive screens.
If you're looking to buy a pre-made solution and want to know what to look for, our guide on how to find the ultimate screen cleaner breaks it all down.
The Secret to a Flawless, Streak-Free Screen
Having the right tools is half the battle, but knowing how to use them is what separates a decent clean from a perfect, streak-free finish. You don't need a complicated routine. In fact, the best method is a simple two-phase process that works on any screen you throw at it, from a glossy new laptop to that big matte monitor on your desk.
But before you even think about spraying anything, you need to prep your screen. This isn’t just a throwaway step—it’s the single most important thing you can do to avoid accidental damage. A warm screen from recent use will cause any cleaning liquid to evaporate almost instantly, leaving behind a mess of stubborn streaks.
Likewise, trying to clean a screen that’s on is like trying to wash a window in the dark. A bright, powered-on display hides the very smudges and dust you’re trying to eliminate. You end up wiping blindly, missing spots, and grinding invisible grit into the display. A cool, dark screen is the only way to see what you're really up against.
Prep Your Screen and Workspace
First things first: completely power down your device. Don’t just put it to sleep. Shut it down and unplug it from the wall. This is a non-negotiable for safety.
Once it's off, let the screen cool to room temperature. This little bit of patience is a game-changer. It stops the cleaning solution from drying too fast, which is the number one cause of streaks, and gives you plenty of time to work methodically.
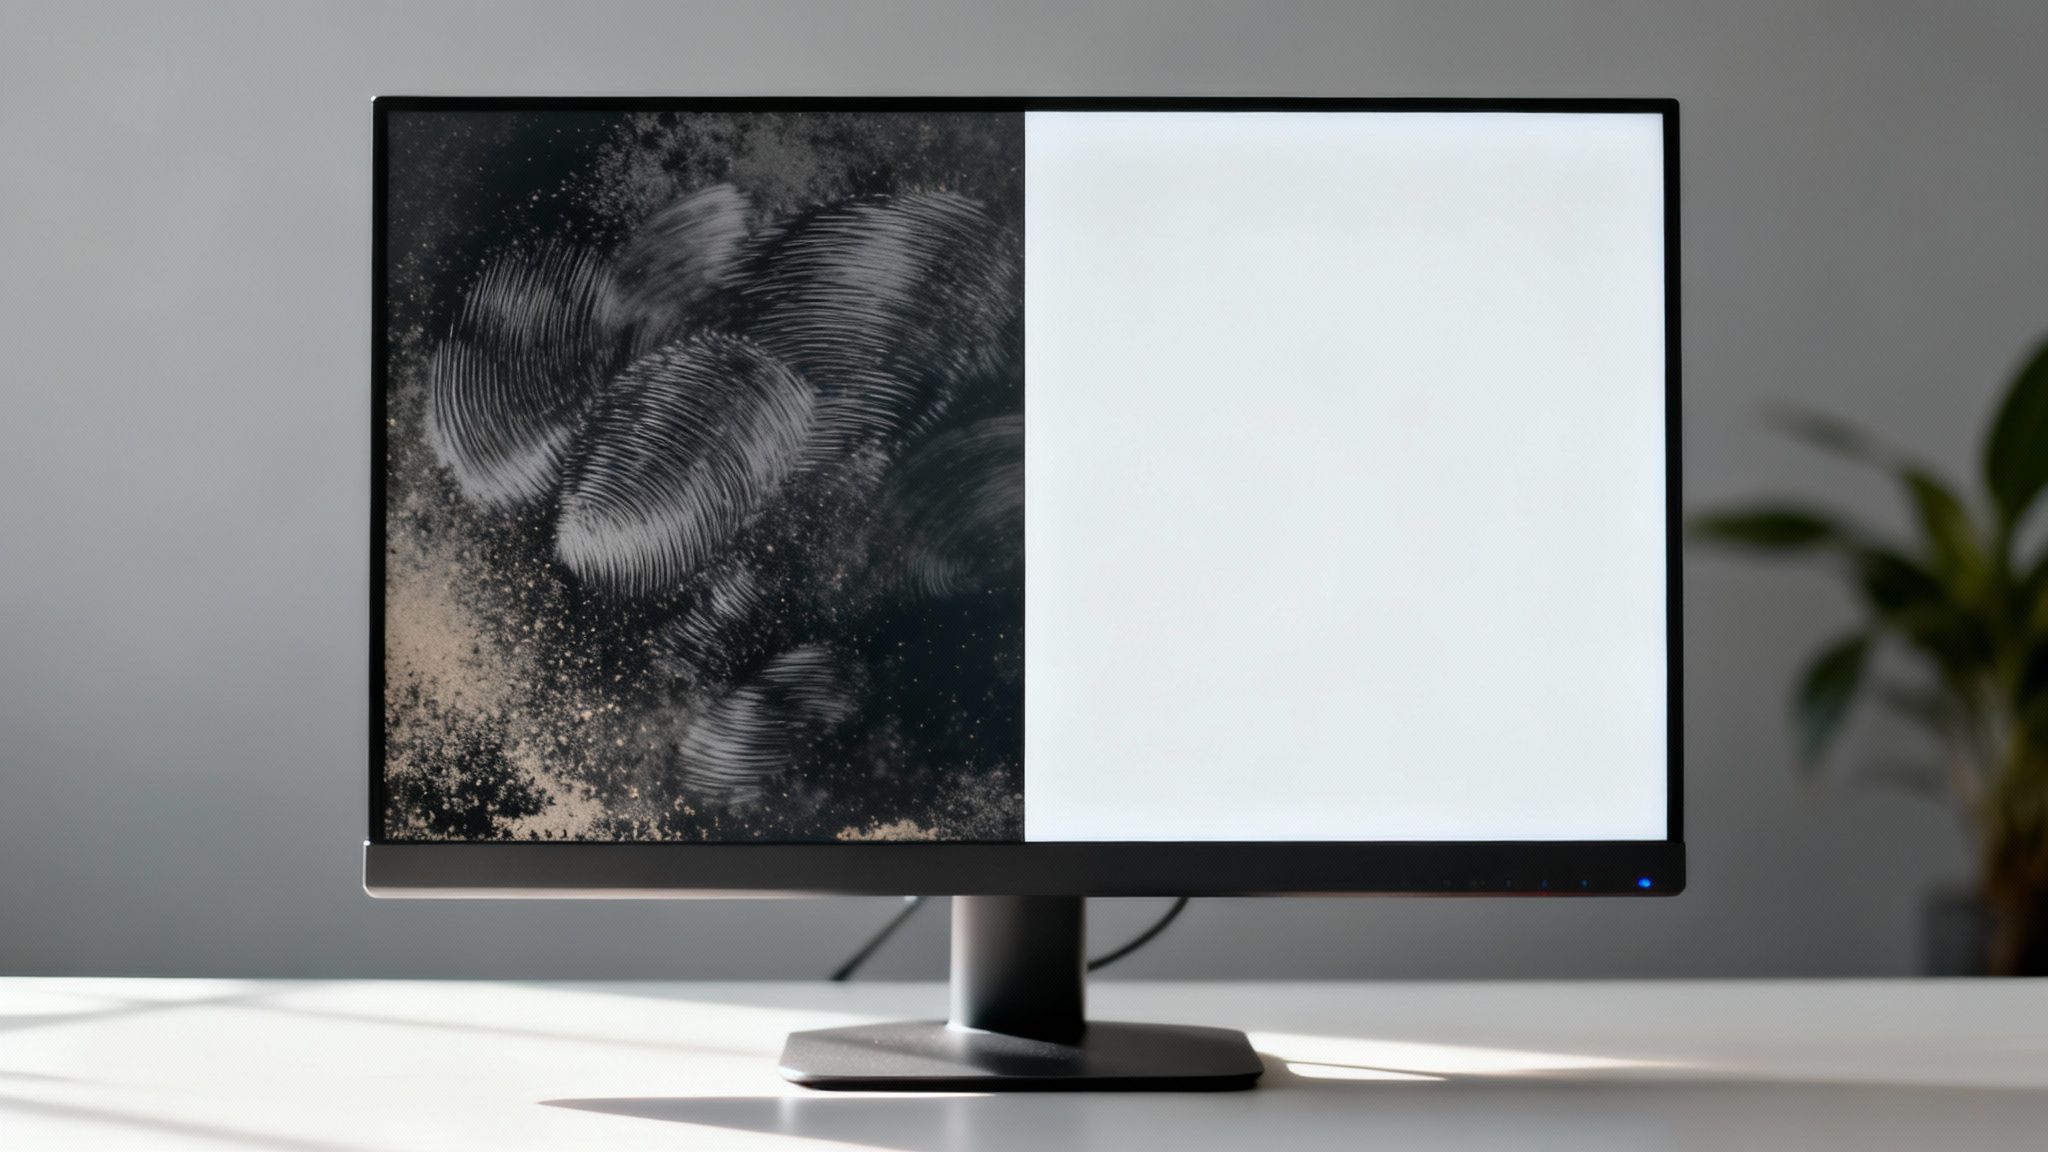
When you turn off the screen, it becomes a dark, reflective canvas. Suddenly, every fingerprint, dust particle, and smudge is thrown into sharp relief. You can see exactly where you need to focus.
Phase One: The All-Important Dry Wipe
With your screen prepped, grab one of your fresh, dry microfiber cloths. The only goal here is to gently lift away all the loose stuff sitting on the surface—dust, lint, pet hair, you name it.
This step is absolutely critical. If you jump straight to a damp cloth, you’re turning that dry dust into a gritty, abrasive paste. Wiping that across the screen is a surefire way to create tiny, permanent scratches. It’s like trying to wash a muddy car without rinsing it first. You wouldn't do it.
Just follow this simple pattern for the dry pass:
- Start at the top. Begin in a top corner and wipe in a straight line across the screen.
- Work your way down. Move down just enough to overlap your last pass and do it again.
- Let the cloth do the work. You don’t need to apply pressure. A light touch is all it takes for the microfiber’s natural static charge to grab onto dust.
This methodical approach ensures you've removed anything that could scratch the screen before you introduce a single drop of liquid.
Phase Two: The Gentle Damp Clean
Now that the loose debris is gone, it’s time to deal with fingerprints and oily smudges. Take your second clean microfiber cloth and your screen-safe cleaning solution. The magic word here is damp, not wet.
The golden rule of screen cleaning: Never, ever spray liquid directly onto the screen. It’s just too easy for droplets to sneak into the bezel and fry the delicate electronics inside. Always, always apply the cleaner to your cloth first.
Lightly mist the cloth. One or two spritzes should be plenty. It should feel slightly moist to the touch, not sopping wet.
Using that same top-to-bottom motion, gently wipe the screen. If you hit a stubborn spot, resist the urge to scrub. Instead, just apply a tiny bit more focused pressure in a small circular motion until it lifts.
Once it’s clean, you can use a dry corner of the cloth (or a third, completely dry one) to gently buff away any faint lingering moisture. Let the screen air dry completely for a minute or two before you even think about plugging it back in and powering it on.
Adapting Your Method for Different Screen Types
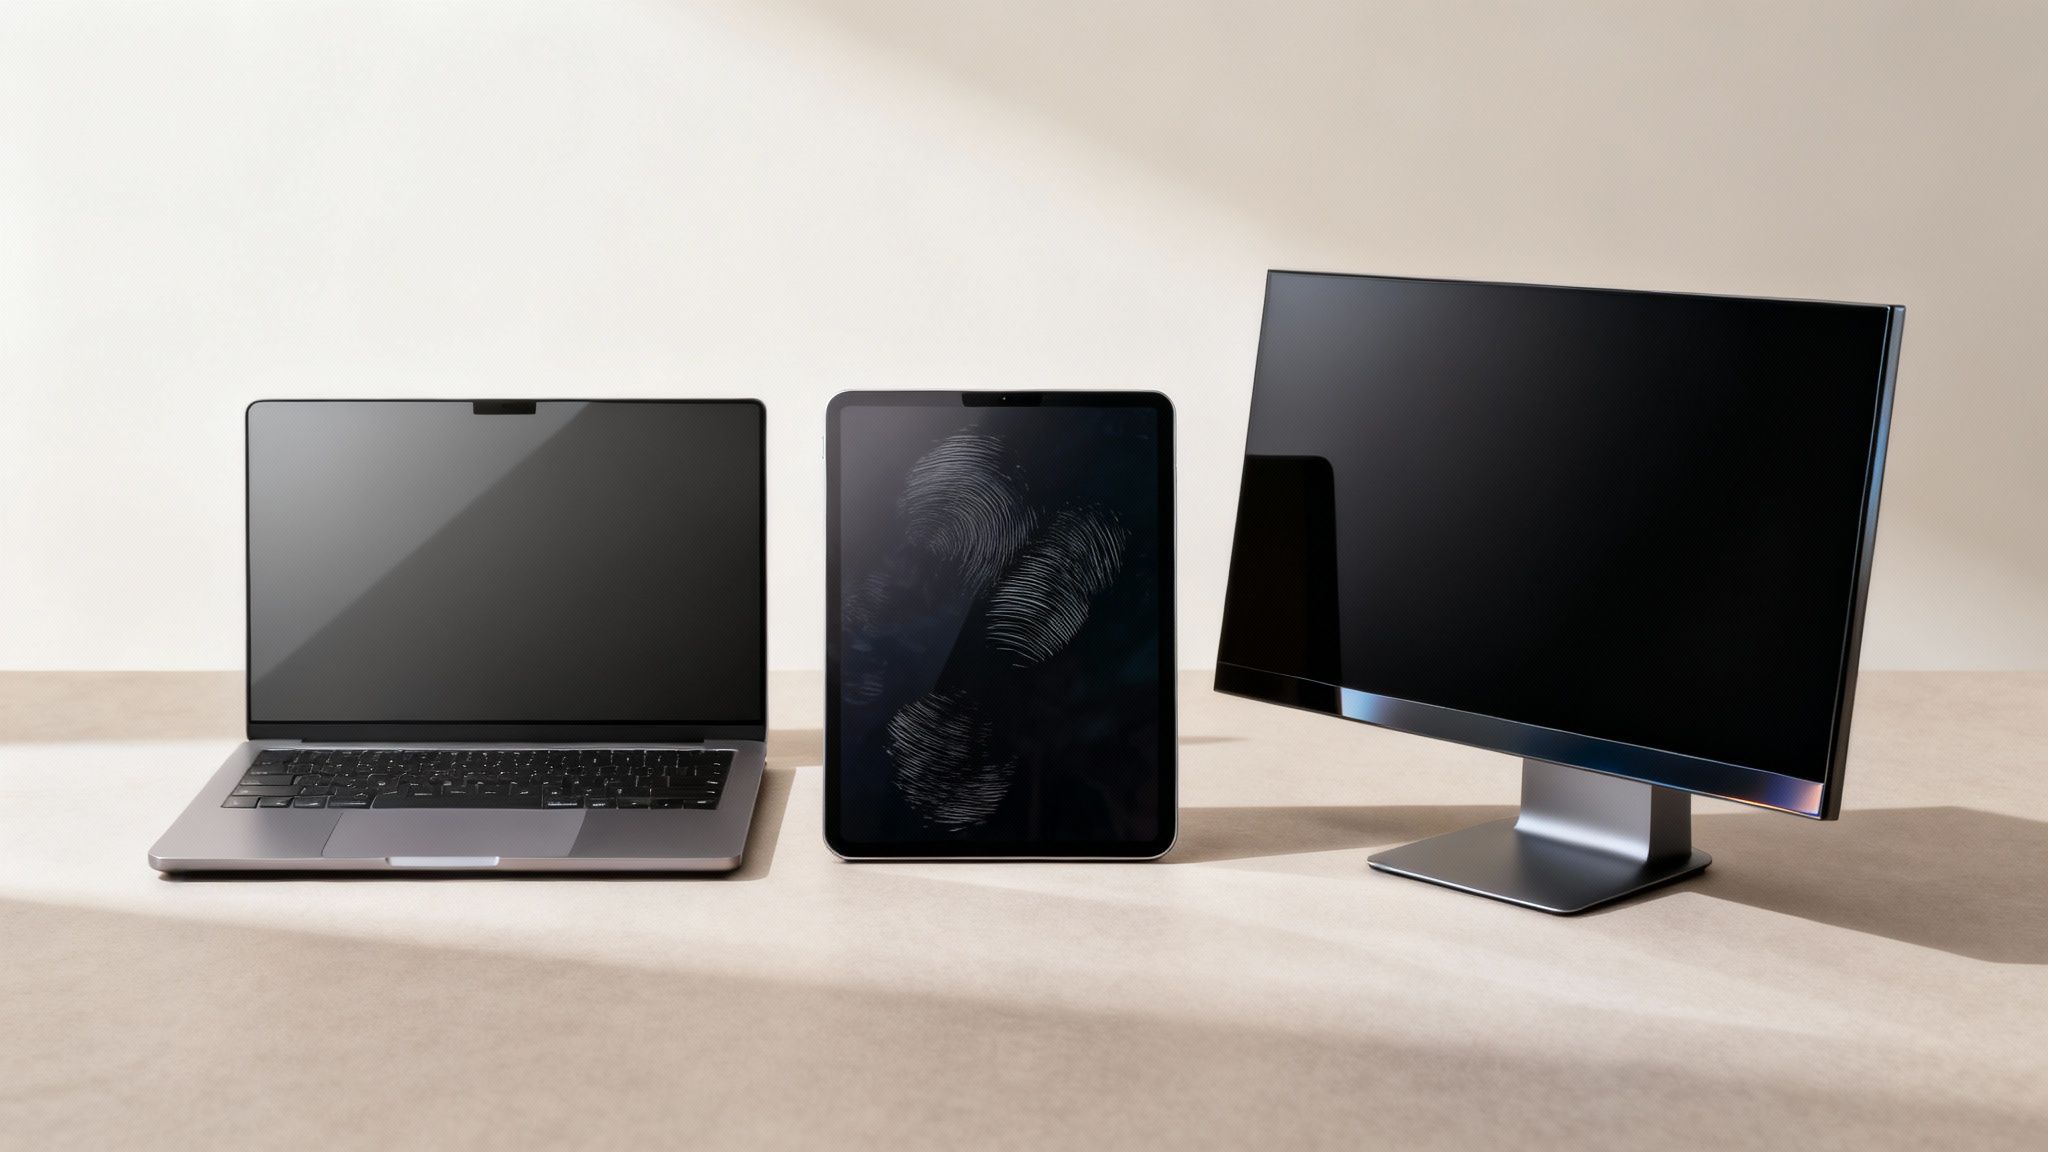
You wouldn't use the same cleaner on a wooden table as you would on a glass one, right? The same logic applies to your screens. Not all displays are built the same, and a one-size-fits-all approach is a recipe for streaks and frustration.
The screen you’re cleaning—be it a matte desktop monitor, a glossy laptop, or a fingerprint-magnet touchscreen—has its own quirks. Tweaking your technique just slightly for each type is the secret to getting that perfect, flawless finish every single time.
Matte vs. Glossy Displays
The finish on your screen is the biggest variable. Each surface grabs onto dust and oil in a completely different way, so your game plan needs to adjust.
- Glossy Screens: Found on most modern laptops and high-end monitors, their super-smooth surface makes fingerprints and smudges impossible to ignore. The silver lining? Grime just sits on top, so it’s generally easier to wipe away cleanly.
- Matte Screens: These anti-glare heroes use a microscopically rough texture to diffuse light. While amazing for bright rooms, that texture is a perfect trap for fine dust. Oily smudges can also be a bit more stubborn to lift on the first pass.
For a matte screen, that initial dry wipe is non-negotiable—it pulls dust out of all those tiny crevices. When you move on to the damp wipe, you may need to use gentle, overlapping vertical and then horizontal strokes. This ensures you lift stubborn spots without pushing them around.
Cleaning Laptop Screens
Laptops have a unique enemy: the keyboard. Every time you close the lid, oils and dust from your fingertips can press directly onto the screen, leaving a faint, blocky imprint of the keys. It’s one of the most common complaints we hear.
This is where a little extra attention goes a long way. Focus your efforts on the center of the screen, right where it meets the keyboard. Our more detailed guide on how to clean your laptop screen dives deeper into this specific problem. Pro tip: giving your keyboard and trackpad a quick wipe before closing the lid can make a massive difference.
Tackling Touchscreens and High-End Displays
Touchscreens are in their own category entirely. They’re meant to be handled, which makes them absolute magnets for skin oils. To combat this, most have a special oleophobic (oil-repellent) coating that helps fingerprints wipe away easily.
It's crucial to use only very mild, alcohol-free cleaners on touchscreens. Harsh chemicals can quickly strip away this vital oleophobic coating, making the screen a permanent smudge magnet and feeling "sticky" to the touch.
When it comes to high-end displays like delicate OLED panels or monitors with special protective layers, being gentle isn't just a suggestion—it's a requirement. If the manufacturer provides cleaning instructions, follow them to the letter. If you’re ever in doubt, a clean microfiber cloth dampened with just a bit of distilled water is always the safest bet. You're trying to protect your investment, after all.
Solving Common Screen Cleaning Problems

Even when you follow all the rules, a couple of common frustrations can still pop up. The biggest one? The dreaded streak—that faint, hazy film that only shows up after the screen is dry. Don’t panic. It's almost always a simple fix and rarely means you've done any damage.
Streaks usually point to one of three things: too much cleaning solution, a dirty microfiber cloth, or minerals left behind from tap water. The solution is straightforward. Just take a completely clean, dry section of your microfiber cloth and gently buff the screen in light, circular motions. This is usually all it takes to lift the faint residue.
Banishing Stubborn Spots Safely
What about those really tough spots, like a dried drip of coffee or a mystery smudge that refuses to budge? Your first instinct might be to just scrub harder, but that’s a fast track to scratching your screen or wearing down its delicate protective coating.
Instead, let’s try a more patient approach:
- Lightly re-dampen a small corner of your microfiber cloth.
- Hold that damp corner right on the stubborn spot for a few seconds. This helps rehydrate and soften the grime.
- Gently wipe the spot away using small, circular motions.
- Finish by buffing the area with a dry part of the cloth to prevent a new spot from forming.
This method lets the solution do the heavy lifting, not brute force. If you’re dealing with frequent smudges (hello, touchscreen users), keeping dedicated screen cleaner wipes handy can be a lifesaver. Convenient options like these EVEO electronic screen cleaner wipes are pre-moistened to the perfect level, so you never have to guess.
Dirt Speck or Dead Pixel?
Every so often, you’ll find a tiny black dot that won't wipe away, no matter what you do. Before you get frustrated, it’s important to figure out if you're dealing with a speck of dirt or something else entirely: a dead pixel.
A dead pixel is a hardware issue where a single pixel on the display is permanently off, showing up as a tiny black square. It’s part of the screen itself, so you can't "clean" it away. A stubborn piece of dirt, on the other hand, is just sitting on the surface.
There's an easy way to tell them apart. Look at the spot from different angles by moving your head from side to side. A speck of dirt will seem to shift its position relative to the image behind it. A dead pixel will stay perfectly fixed in place, locked into the screen's grid. Knowing the difference will save you from endlessly scrubbing at a hardware flaw.
Your Top Screen Cleaning Questions, Answered
Even when you know the basics, real-world questions always pop up. Getting into a good screen care routine is all about knowing what to do in those common "what if" moments. Let's tackle the questions I hear most often so you can clean any screen with total confidence.
How Often Should I Actually Clean My Screen?
For a typical desk setup at home or in the office, a quick dusting once a week and a proper wipe-down every two to four weeks is a great rhythm. This keeps grime from building up to the point where it becomes a real chore to clean.
But that's just a guideline. You'll want to clean it more often if:
- It's a touchscreen getting poked and swiped all day.
- Your computer lives in a dusty spot, like a workshop, or you have pets who love to share their dander.
- You see smudges or fingerprints that are genuinely distracting you from your work or show.
The real key is consistency. A light, frequent clean is always better than a heavy-duty scrub-down later.
Is Distilled Water Really Safe for My Screen?
Absolutely. In fact, it's one of the safest things you can use. Distilled water is a fantastic choice because it has zero minerals, which means it can't leave behind any of those chalky spots or streaks. For light dust or a few minor smudges, a microfiber cloth lightly dampened with just distilled water is perfect.
When you run into something a bit tougher, like an oily fingerprint, a 50/50 mix of distilled water and basic white vinegar is my go-to DIY solution. It's effective and completely safe. Just promise me you'll never use tap water—its mineral content is the number one cause of stubborn, streaky residue.
Can I Use Screen Wipes on My Laptop or Monitor?
You can, but you have to be picky. Only use wipes that are specifically designed for electronic screens. These are made to be free of alcohol and ammonia, the two culprits most likely to wreck your screen's special coatings.
Never, ever grab a general-purpose Clorox or Lysol wipe, or even a baby wipe. These are loaded with harsh chemicals that can strip away the anti-glare and oleophobic (oil-repelling) layers on your screen, leaving permanent cloudy damage. Always read the label!
What's the Best Way to Clean a Monitor's Edges and Bezels?
Those plastic borders are total dust magnets. The best way to tackle them is with the same lightly dampened microfiber cloth you used on the screen.
For the tricky corners where dust loves to hide, a cotton swab dipped in a tiny bit of your cleaning solution works wonders. Just be gentle and make sure no liquid drips down into the gap between the bezel and the screen. If it's just loose dust, a few quick puffs from a can of compressed air (held at an angle and from a distance) can clear it out before you wipe.
For a reliable, streak-free shine every time, trust the EVEO Screen Cleaner Kit. It comes with everything you need to keep your displays pristine and protected. Discover the EVEO difference and upgrade your cleaning routine today.
Best Ways to Hide Cords for a Clean and Tidy Space
The Best Way to Organize Wires From Chaos to Calm