
That warm, analog sound we love from vinyl is a delicate thing. It’s easily spoiled by the everyday enemies of your collection—dust, fingerprints, static, and stubborn grime that gets lodged deep in the grooves.
A dirty record doesn't just add annoying pops and crackles; it actively degrades the listening experience and causes premature wear on your turntable's stylus. Think of it this way: every speck of dust is a tiny abrasive, grinding away at the vinyl each time the needle passes over it. Over time, that damage is irreversible.
This is where a good cleaning routine comes in. For more on the fundamentals, check out our detailed guide on how to clean, store, and protect your vinyl records. But for now, let's talk about the solution itself.
The DIY Advantage
So, when does mixing up your own batch of cleaner make the most sense? Going the homemade route is a fantastic choice for many collectors, and it comes with a few key perks:
- It’s incredibly cost-effective. You can mix up a large bottle for a tiny fraction of what a pre-made one costs.
- You control the ingredients. No mystery chemicals here. You know exactly what’s touching your precious records, which is great for avoiding anything harsh.
- You can customize it. Need something a little stronger for a thrift-store find? Or a gentler mix for a quick dust-off? You can tweak the recipe as needed.
In fact, many audiophiles have found that DIY formulas can cut their cleaning costs by around 66%. If you have a collection of 100 to 500 records, those savings can easily add up to between $50 and $300 a year. That’s another grail record (or two) for your shelf.
When to Opt for a Commercial Kit
On the other hand, there’s a reason professional kits exist. Something like the EVEO 4-in-1 Vinyl Record Cleaning Kit offers convenience and, most importantly, peace of mind. These formulas have been scientifically developed and tested to be both safe and highly effective.
For your most valuable, rare, or irreplaceable albums, a professionally made solution is often the smarter bet.
Deciding between DIY and a commercial kit really comes down to your personal needs, budget, and how hands-on you want to be.
DIY vs Commercial Record Cleaning Kits: A Quick Comparison
To make the choice easier, here’s a quick breakdown of the pros and cons for each approach.
| Factor | Homemade Solution (DIY) | Commercial Kit (e.g., EVEO) | Best For |
|---|---|---|---|
| Cost | Very low initial cost; ingredients are inexpensive and versatile. | Higher upfront cost per bottle. | Budget-conscious collectors with large libraries. |
| Convenience | Requires sourcing ingredients and mixing the formula yourself. | Ready to use straight out of the box; no prep needed. | Collectors who value their time and want a grab-and-go option. |
| Effectiveness | Can be highly effective for general cleaning and dust removal. | Professionally formulated for optimal dirt and static removal. | Prized, rare, or deeply soiled records needing a guaranteed result. |
| Safety | Generally safe, but requires careful ingredient selection to avoid damage. | Lab-tested and proven safe for all standard vinyl records. | Anyone worried about accidentally damaging their most valuable albums. |
Ultimately, whether you mix your own solution or buy a trusted kit, the goal is the same: keeping your collection in top shape so you can enjoy the purest sound possible for years to come.
Gathering Your Core Cleaning Ingredients
Making your own record cleaning solution is less like a chemistry final and more about knowing the role of a few key players. You don't need a lab coat, just an understanding of what works and what will wreck your vinyl. At its heart, a great DIY fluid is a simple, effective trio: a pure water base, a solvent to tackle grease, and a surfactant to do the heavy lifting.
First up, and this is non-negotiable: your water. You absolutely must use distilled or deionized water. Don't even think about using water from the tap. Tap water is full of minerals like calcium and magnesium that are a disaster for vinyl. As your cleaning fluid evaporates, those minerals get left behind as a fine, white film deep in the grooves, creating more noise than you started with.
The Power Players: Alcohol and Surfactants
Next, we need a solvent. The go-to for most record collectors is Isopropyl Alcohol (IPA), usually in a high concentration like 91% to 99%. Alcohol is a champ at two things: it dissolves greasy fingerprints and oily residue, and it helps the solution evaporate quickly and evenly off the record's surface. Many tried-and-true recipes rely on an alcohol like Ethanol, which works in a very similar way.
But alcohol can't do it all. While it's great for oils, it struggles to lift and carry away solid particles like dust. That's where our secret weapon comes in: a surfactant, or what's sometimes called a wetting agent.
A surfactant is the magic ingredient that breaks the surface tension of the water. This allows the cleaning solution to sink deep into the tiniest microgrooves instead of just skimming over the top. It makes the water "wetter," letting it get underneath grime and lift it clean off the vinyl.
Think of it as a specialized soap for your records, but without any of the damaging additives found in household products. Enthusiasts often use photographic wetting agents like Ilfotol or lab-grade options like Triton X-100. You'll be amazed at how little you need—a single, tiny drop is often enough for an entire batch. If you want to dive deeper into how the pros formulate their cleaners, you can explore the science behind a quality vinyl record cleaning fluid.
What You Must Absolutely Avoid
Knowing what to leave out of your mix is just as crucial as knowing what to put in. Plenty of common household cleaners will cause permanent, irreversible damage to your collection.
Ingredients to Never Use:
- Tap Water: We can't stress this enough. It leaves behind mineral gunk that causes pops and crackles.
- Ammonia-Based Cleaners (e.g., Windex): Ammonia is incredibly harsh and can leach the plasticizers right out of the PVC, making your records brittle and noisy over time.
- Scented Dish Soaps or Detergents: These are loaded with dyes, perfumes, and degreasers that will leave a sticky, sound-killing residue in the grooves.
- Rubbing Alcohol (70% or lower): The extra water content in lower-purity alcohol messes with evaporation and just increases the chances of leaving impurities behind.
Stick to the core three—distilled water, high-purity IPA, and a proper surfactant. That's how you can be sure your DIY efforts are helping, not harming, your precious records.
Three Proven Recipes for Your Homemade Cleaner
Alright, now that you know what goes into a good cleaning solution, let's get mixing. I've personally used and tweaked these three recipes over the years, and they're tailored for different situations—from a quick pre-spin dusting to a deep-groove rescue mission for a thrift store find. Each one is simple to put together and incredibly effective.
The basic idea behind any good formula is always the same, combining these core elements to get the job done right.
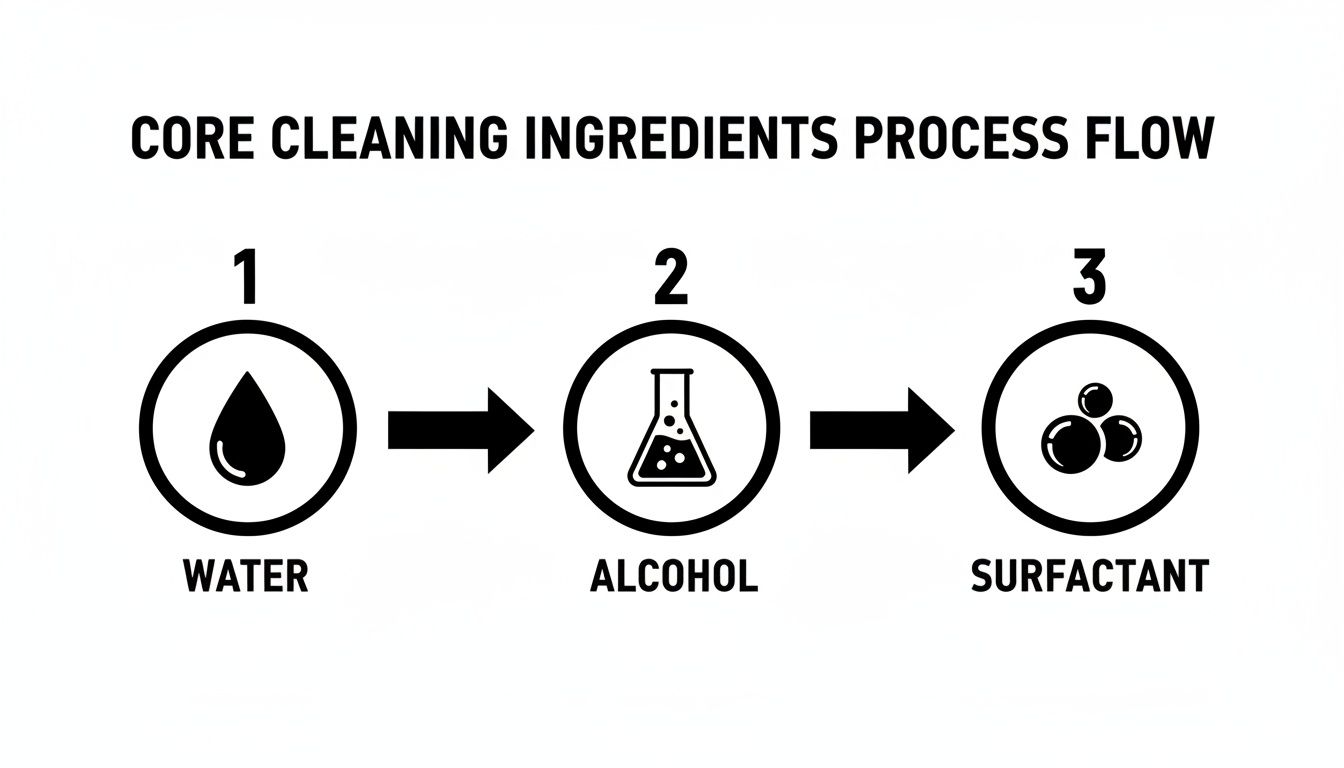
This process shows you how each piece of the puzzle—the pure water, the solvent, and the surfactant—plays a specific role in lifting grime and leaving nothing behind.
The Basic Dust Buster
This is my go-to for daily maintenance. It’s perfect for giving new records a quick clean right out of the sleeve or for wiping down your regulars before dropping the needle. It handles light dust, static, and minor fingerprints without any harsh stuff.
Ingredients:
- 3 parts Distilled Water
- 1 part Isopropyl Alcohol (91-99%)
Just combine the two in a clean spray bottle and give it a gentle shake to mix. That's it. Its simplicity is its biggest strength, making it the perfect choice for keeping your listening rotation in top shape.
The Audiophile Standard
For records that need a bit more love than a light dusting, this recipe brings in a surfactant to really dig into the grooves. Think of this as the workhorse formula for most of the used records you'll come across—the ones with stubborn grime that’s been sitting for a while.
Ingredients:
- 4 cups (32 oz) Distilled Water
- 1 cup (8 oz) Isopropyl Alcohol (91-99%)
- 3-4 drops of a photographic wetting agent (like Ilfotol) or a lab-grade surfactant (like Triton X-100)
Mix the water and alcohol first, then add the few drops of surfactant. Gently invert the bottle a few times to combine everything. You'll want to avoid shaking it like a cocktail, as that can create way too much foam. Let it sit for about an hour before you use it for the first time.
I always make a fresh batch of this "Audiophile Standard" before a long listening session. It’s amazing how it can cut down on surface noise and bring out a clarity you thought was lost on some well-loved LPs.
The Crate Digger's Rescue Formula
We've all been there. You score a stack of dusty gems from a flea market, and they look like they haven't been touched in decades. This is the recipe for that exact moment. It’s a slightly stronger mix designed to tackle years of dirt, old mold release agents, and who knows what else, without being destructive.
Ingredients:
- 3.5 cups (28 oz) Distilled Water
- 1.5 cups (12 oz) Isopropyl Alcohol (91-99%)
- 5-6 drops of a photographic wetting agent or lab-grade surfactant
This one ups the alcohol content just enough to help dissolve heavier, oil-based gunk. Some collectors have also experimented with natural alternatives; for instance, learning how to use citric acid for cleaning can provide some interesting ideas, though you absolutely need to research its compatibility with vinyl first.
The science behind this can go surprisingly deep. Some chemistry-minded audiophiles have pinpointed incredibly precise formulas, like using ethyl alcohol at 22.00 percent by weight to achieve a surface tension of 28.5 dynes/cm—the sweet spot for lifting dirt and evaporating without a trace. It just shows how much you can really dial in your cleaning game.
Mastering Your Record Cleaning Technique
So, you’ve mixed the perfect homemade record cleaning solution. That’s a huge win, but your job isn’t quite done. Even the most brilliant formula can fail if you don’t apply it correctly. How you clean is just as important as what you clean with, and the right technique separates a decent result from a truly great one.
It’s the difference between just smearing dust around and actually lifting it out of the grooves for that beautiful, silent playback we’re all chasing.
Over years of cleaning everything from dusty thrift-store finds to my most cherished first pressings, I’ve learned one thing for sure: finesse beats force every single time. Aggressive scrubbing will only push dirt deeper into the grooves or, worse, create micro-scratches that add permanent noise. The goal is to let the solution do the heavy lifting.
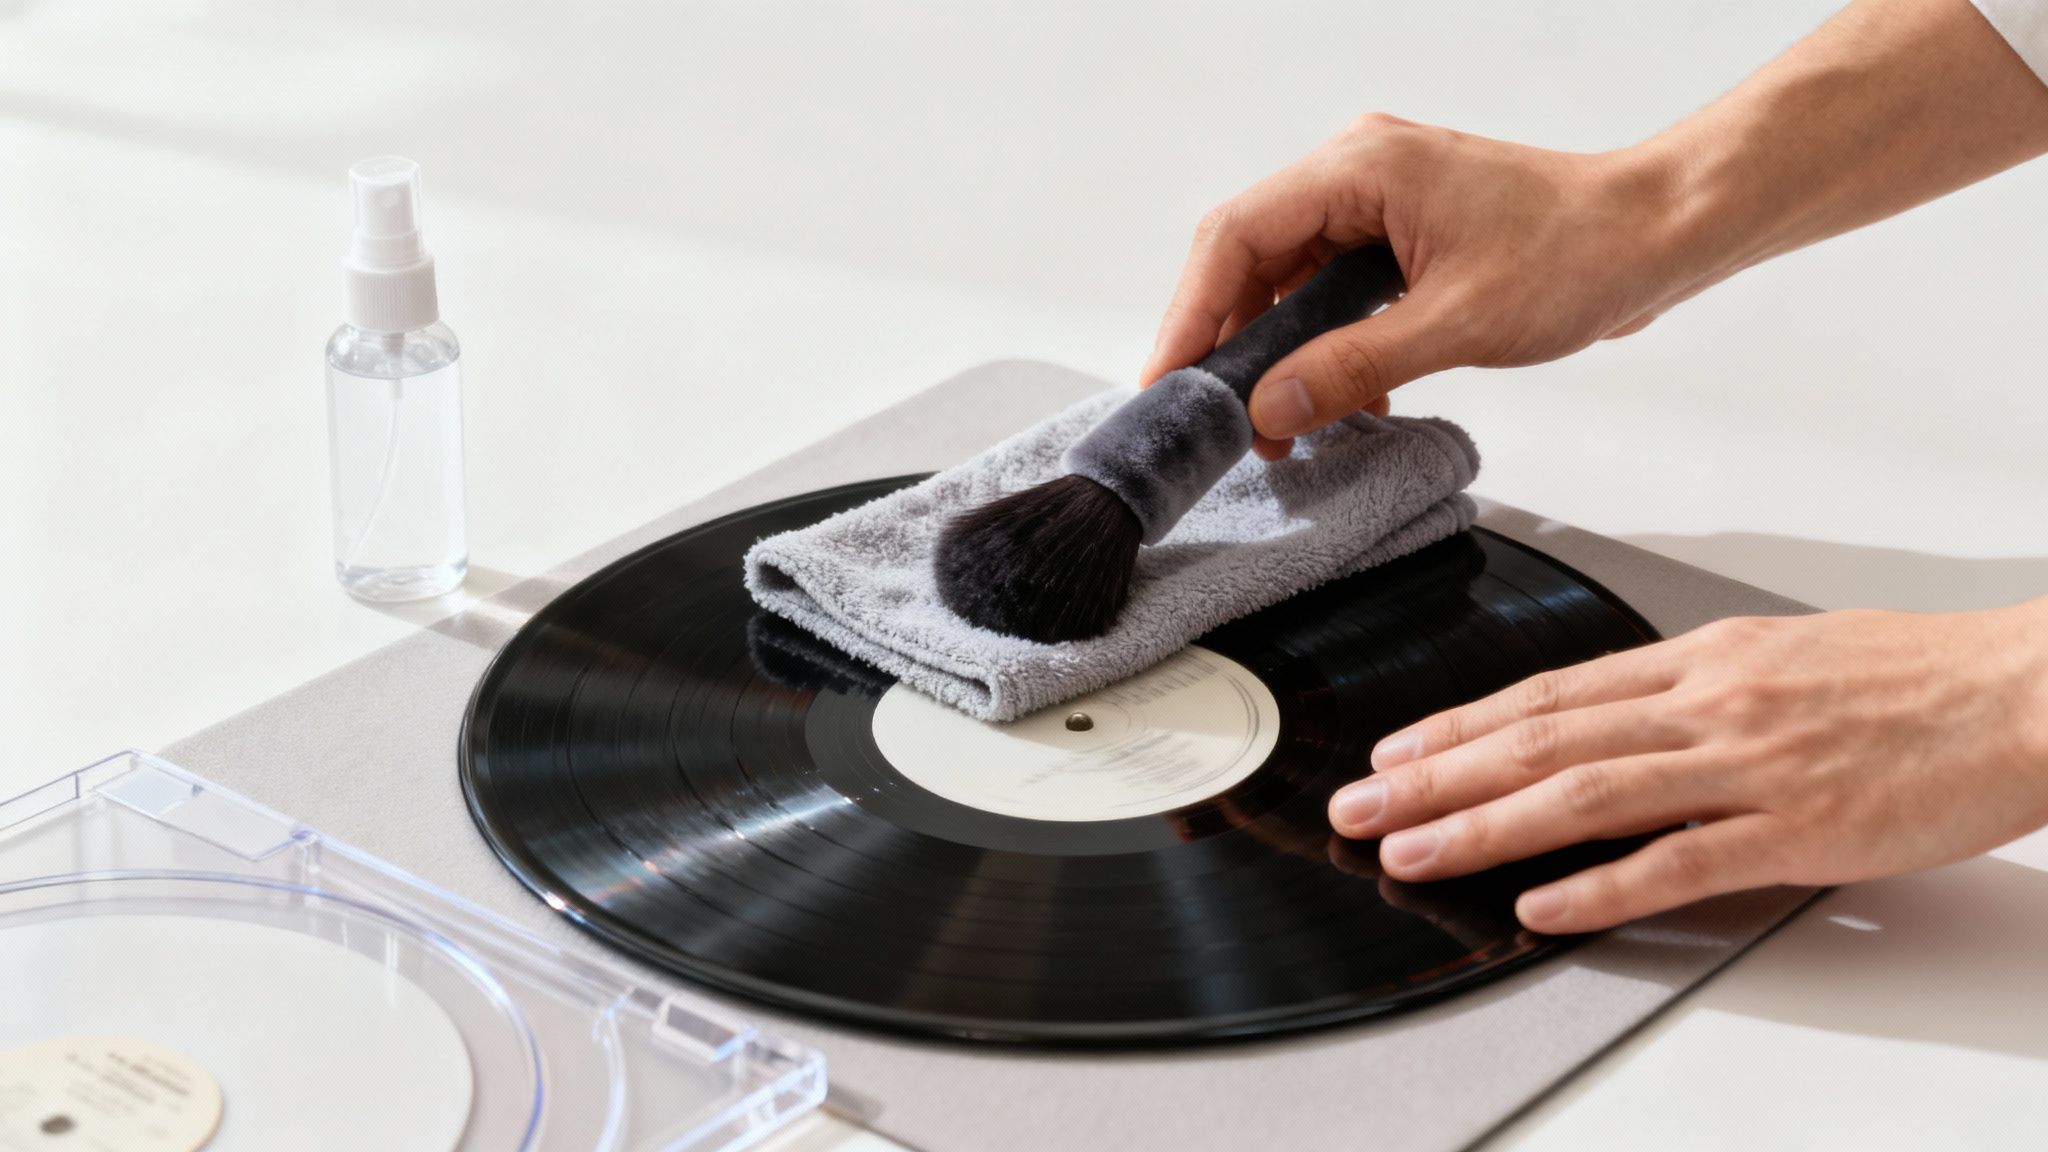
The Gentle Approach to Manual Cleaning
When I'm cleaning by hand, my philosophy is simple: less is more. You don’t need to flood the record surface. A fine-mist spray bottle is your best friend here, letting you apply a light, even coating without soaking the label.
Your tools for this are straightforward but essential.
- A fine-mist spray bottle: This is non-negotiable for even distribution of your homemade cleaner.
- A high-quality microfiber or carbon fiber brush: These are specifically designed to get into the grooves without scratching the vinyl. Please, avoid old t-shirts or paper towels—their fibers break off and leave a new mess behind.
- A separate, clean microfiber cloth for drying: Never, ever use the same cloth or brush for application and drying.
Ready to start? Place the record on a soft, lint-free surface. Lightly mist a section of the vinyl, carefully avoiding the paper label. Now, take your cleaning brush and gently move it in a circular motion, always following the direction of the grooves. A few slow, deliberate rotations are all you need.
Protecting the record's paper label is a top priority. You can buy a simple plastic label protector, but honestly, I just use careful aim with the spray bottle. A stray drop isn't a disaster if you wipe it away quickly, but a soaked label is a permanent, heartbreaking blemish.
After working the solution in, the drying stage is your final, critical move. Use that second, completely dry microfiber cloth and lightly wipe in the same direction as the grooves to soak up any leftover moisture. I always let the record air dry completely in a dish rack for a few minutes before sleeving it. This ensures no residue is left behind to cause problems later on.
Adapting Your Solution for Cleaning Machines
If you've invested in a proper record cleaning machine—whether it's a vacuum or an ultrasonic model—you can absolutely use your homemade solution. You just might need to make a small adjustment for the best results.
These machines are incredibly efficient, so you can usually dial back the strength of your cleaning mix a bit.
For vacuum systems, I find that reducing the isopropyl alcohol content by about 25% compared to a manual-cleaning recipe works perfectly. This gives the vacuum wand a little more time to suck up all the fluid before it starts to evaporate.
With ultrasonic cleaners, the surfactant is the key ingredient to watch. Since those tiny cavitation bubbles are doing the real work, you need far less surfactant to break the water's surface tension. I recommend cutting the amount of surfactant by half to prevent the tank from turning into a foam party. It’s a simple tweak that ensures your DIY solution works in perfect harmony with your machine for a pristine, automated clean.
Keeping Your DIY Cleaner Fresh and Fixing Common Issues
Making your own record cleaner is a game-changer, but what you do after mixing a batch is just as important as the recipe itself. Proper storage and knowing how to troubleshoot common hiccups are what separate a one-time experiment from a reliable part of your vinyl care routine.
Once you’ve got your solution ready, find it a good home. I always recommend a clean, airtight spray bottle. If you can, grab an amber or opaque glass bottle—they’re perfect for protecting the fluid from its number one enemy: sunlight. UV rays can degrade isopropyl alcohol over time, which means it won't clean or dry as effectively.
And don’t forget to label it! A simple sticker with the recipe and the date you mixed it will save you a headache later.
Storage and Shelf Life
A well-stored solution can last a surprisingly long time. Just keep it in a cool, dark place (like a cabinet under the sink), and you’ll be set.
- Alcohol-Based Mixes: These are incredibly stable. The alcohol acts as a natural preservative, so you don’t have to worry about anything funky growing in there. A batch like this will easily stay potent for one to two years.
- Alcohol-Free Mixes: If your recipe is just distilled water and a surfactant, the clock is ticking a bit faster. Without alcohol to preserve it, it's best to use this solution within six months.
The best part? The savings are huge. A 500-milliliter batch will only set you back $2 to $4, while commercial cleaners often run anywhere from $15 to $40. If you buy your ingredients in bulk, you'll be set for years. For a deeper dive into the numbers, check out this great cost breakdown on Vinyl Engine.
Troubleshooting Common Cleaning Problems
Even with a perfect solution and solid technique, you might hit a snag. Don't worry—the fixes are usually simple.
Problem: A White Film or Haze on the Record
Ever finish cleaning, only to find a faint, milky residue left behind? This is almost always caused by one of two things: you used tap water instead of distilled water (leaving mineral deposits), or you were a little too generous with the surfactant.
The fix is easy: just give the record a final rinse with pure distilled water and let it dry completely. The haze should vanish.
Problem: More Static After Cleaning
It’s one of the most common frustrations in the vinyl world. You spend all this time getting your record spotless, only for it to attract a new layer of dust the second you put it on the platter. The friction from wiping a record can build up a static charge.
Don't panic if your record sounds extra crackly right after a deep clean. This is completely normal and easy to resolve. The friction from the cleaning process generates static, but it doesn't mean your cleaning job failed.
All you need is an anti-static brush. A quick, gentle sweep with a carbon fiber brush just before you drop the needle will dissipate that static charge and quiet things down. For more advanced techniques, you might want to check out our guide on how to remove static from vinyl records.
Got Questions About Your DIY Record Cleaner?
Even with the best recipes, it's totally normal to have a few questions when you start mixing your own record cleaning solution homemade. It’s smart to be cautious—we're talking about your cherished vinyl collection, after all. Below are some of the most common questions I've heard from fellow collectors, designed to clear up any lingering doubts so you can clean with total confidence.
Think of this as your go-to guide for those "what if" moments that pop up mid-clean.
Is This Stuff Safe for All My Vinyl?
This is a big one, and the short answer is: mostly, but not always. For your standard LPs and 45s made from polyvinyl chloride (PVC), the recipes we've gone over are perfectly safe when you follow the instructions. The major exception you need to watch out for is 78 rpm shellac records.
Shellac is a whole different animal. It's much more brittle than vinyl, and the isopropyl alcohol in most DIY recipes can cause permanent damage. For these old-timers, stick to a cleaner specifically made for shellac or just use distilled water with a single drop of a gentle surfactant. When in doubt, always test your solution on a record you don't mind sacrificing first.
Can I Just Use Regular Dish Soap?
It might seem like an easy swap for a proper surfactant, but please, do not use standard dish soap. I can't stress this enough. Household soaps are packed with additives—dyes, perfumes, degreasers, and even lotions—that are an absolute nightmare for record grooves.
These ingredients are designed to cling to surfaces, which means they’ll leave a sticky, hard-to-rinse film deep in the grooves. This residue doesn't just dull the sound; it acts like a magnet for fresh dust and can gum up your stylus. Stick to lab-grade surfactants like Triton X-100 or a photographic wetting agent like Ilfotol. You'll get a genuinely clean, residue-free finish every time.
Using the right ingredients isn't about being an audio snob; it's about preventing long-term damage. A cheap shortcut with dish soap can create problems that are much harder to fix than the initial dust you were trying to remove.
Why Do My Records Sound Noisier After I Clean Them?
This is a surprisingly common and frustrating problem, but don't worry, it's usually an easy fix. If you're hearing more pops and crackles after a cleaning session, it almost always comes down to one of three things:
- You left some residue behind. The fix? Make sure you’re using a totally separate, clean microfiber cloth just for a final drying pass. Or, even better, let the record air dry completely on a rack.
- You loosened debris but didn't remove it. Sometimes a deep clean dislodges stubborn gunk without fully lifting it out of the groove. A second cleaning pass or a final rinse with pure distilled water usually takes care of it.
- You've built up static. The simple act of wiping a record can generate a pretty significant static charge. A quick sweep with a carbon fiber anti-static brush right before you drop the needle should zap that extra noise away.
For those times when you need a guaranteed, hassle-free clean for your most valuable records, a professionally formulated kit is the perfect solution. The EVEO 4-in-1 Vinyl Record Cleaning Kit provides everything you need right out of the box, ensuring a safe, effective, and convenient experience every time. Explore our collection at https://eveo.store.
Finding the Best Record Cleaning Brush for Your Vinyl
A Practical Guide to Proper Sitting Posture at Computer