
More than just a quick wipe, cleaning your screen the right way comes down to two key things: a high-quality microfiber cloth and a good, alcohol-free cleaning solution. The trick I've learned over the years is to always spray the cleaner onto the cloth, never directly onto the screen. From there, it’s all about gentle, consistent motions to get that perfect, streak-free finish without risking any damage.
Why a Clean Screen Is a Game-Changer for Focus and Productivity
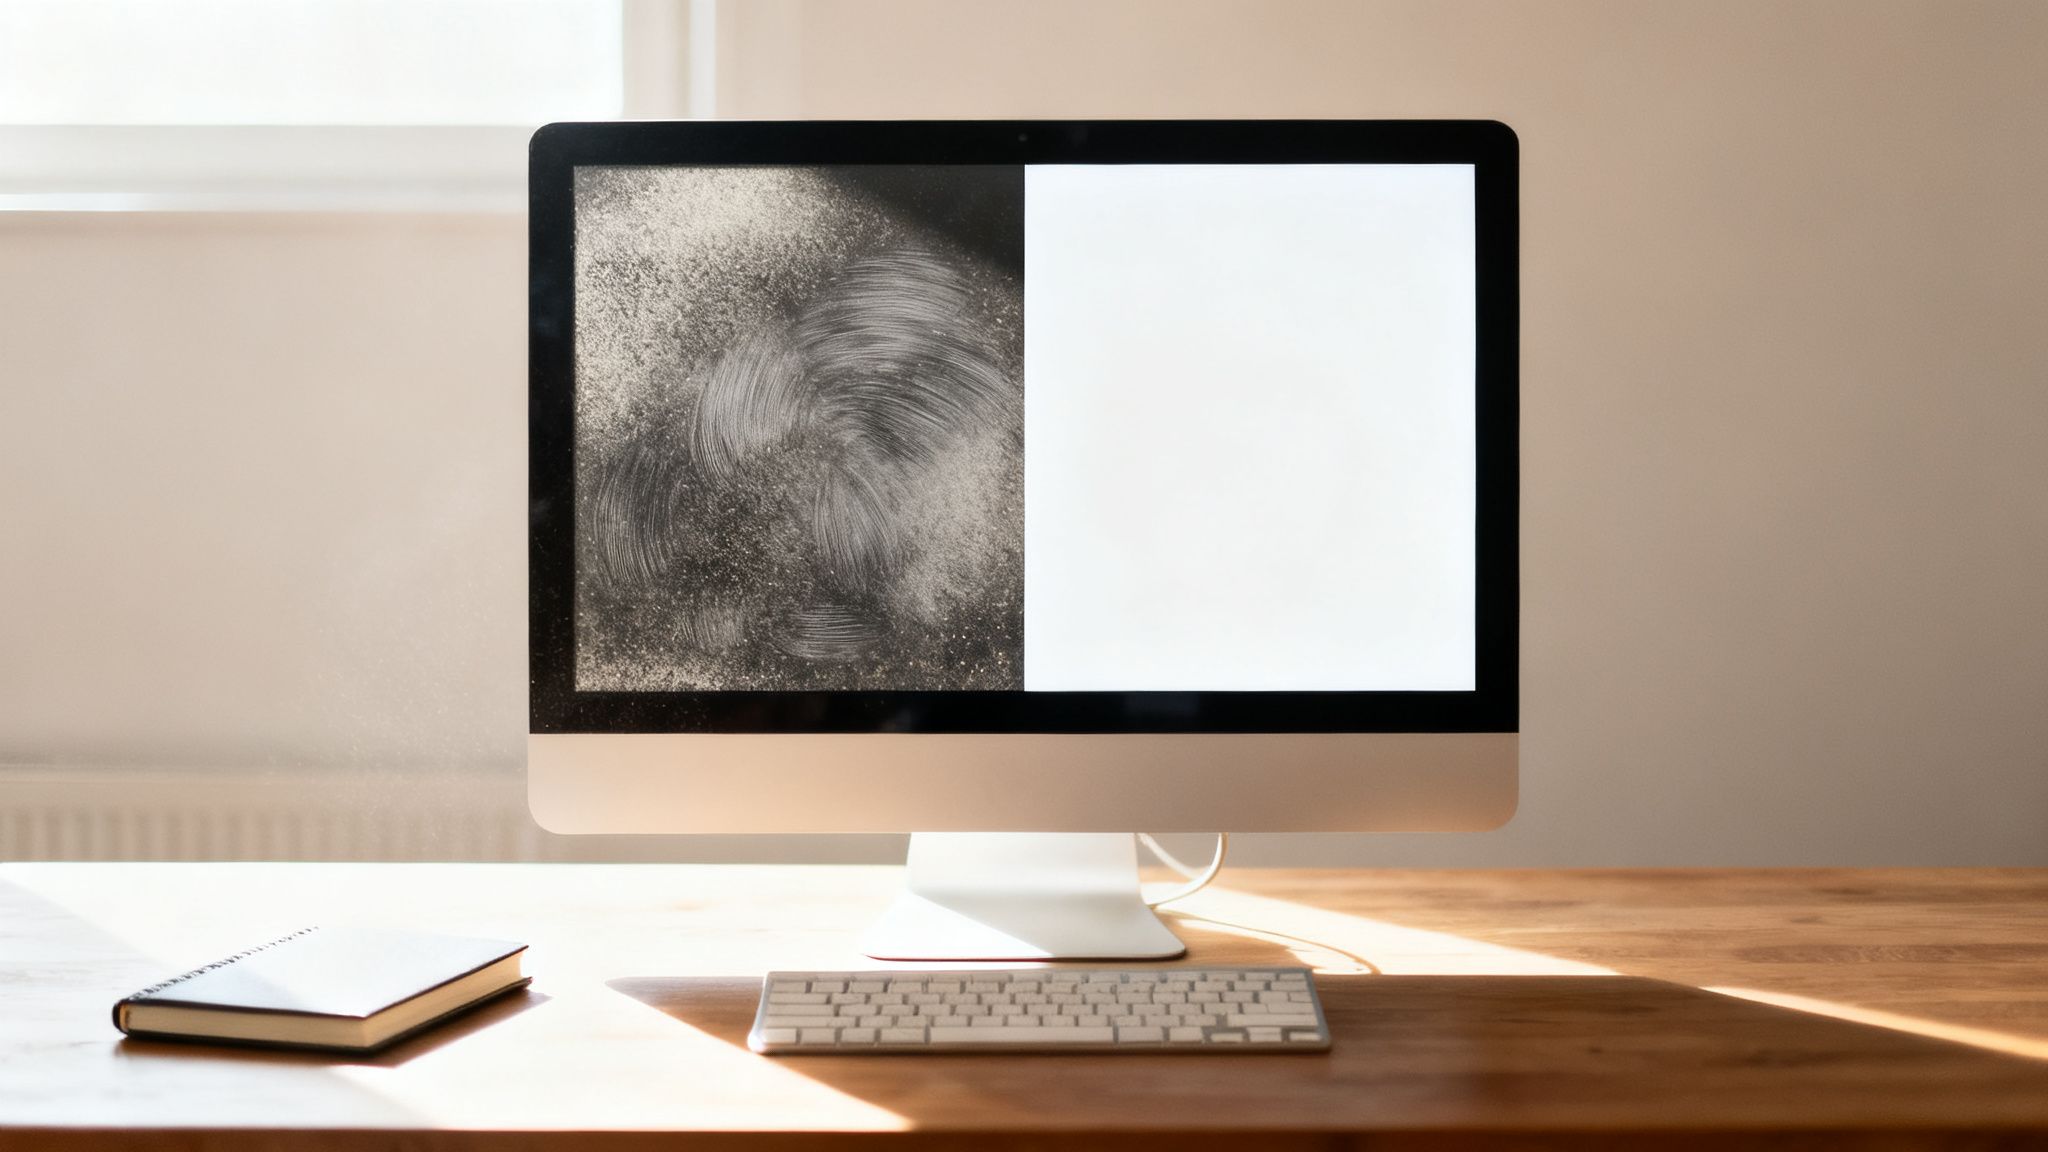
That thin layer of dust, those annoying smudges, and the random fingerprints scattered across your monitor are more than just an eyesore. They're a genuine productivity killer. Your eyes are constantly fighting to see through the grime, which leads to digital eye strain, headaches, and a real dip in your ability to concentrate.
It's like trying to read a book while wearing smudged glasses. Your brain is forced to work overtime just to process what’s right in front of you.
This isn't just a feeling; the numbers back it up. Studies have shown that fingerprints and smudges can slash screen visibility by up to 30%. It’s a major factor contributing to eye strain for a staggering 70% of office workers. Taking a minute to clean your screen is one of the simplest, highest-impact habits you can build for a healthier, more effective workspace. The demand for proper cleaning tools is growing for this very reason, a trend you can see in market insights from places like dataintelo.com.
The Link Between a Clear Screen and a Clear Head
A spotless display is about so much more than just looking good. It’s about creating an environment where you can actually get your best work done. When the information on your screen is crisp and clear, your mind processes it faster, cutting down on the mental friction that can slow you down all day.
And let's not forget about hygiene. Screens can become a hotbed for germs and bacteria. Cleaning your monitor regularly is just as fundamental as wiping down your keyboard and mouse for a clean desk. A pristine screen is also a key part of a good ergonomic setup. Speaking of which, you might be surprised how much a proper monitor mount can further enhance your workspace for better productivity and health.
A clean, organized workspace leads directly to a focused mind. Treating your computer screen with the same care you give the rest of your desk is one of the easiest "wins" for improving your daily workflow and well-being.
When you start to see this task as a vital part of your professional routine instead of just another chore, it becomes a powerful tool. It’s a tiny investment of time that pays off in a big way.
Assembling the Right Tools for a Perfect Clean
Before you even touch your screen, let's talk about your toolkit. This is, without a doubt, the most important part of getting a safe, streak-free clean. If you grab the wrong stuff—like the corner of your t-shirt or a paper towel from the kitchen—you're asking for trouble. You can easily cause permanent micro-scratches and leave behind a trail of lint. A great clean starts with great prep.
The undisputed champion of any screen cleaning kit is a good microfiber cloth. It’s not just any old rag. Unlike cotton, microfiber is made of incredibly fine synthetic fibers that are specifically designed to trap and lift away dust, fingerprints, and smudges instead of just smearing them around. Their softness is key; it means they won't damage the delicate coatings on modern screens.
Choosing the Right Cloth and Solution
Now, not all microfiber cloths are the same. You'll want to find one with a tight weave and a soft, plush feel. It's a smart move to keep at least two clean cloths handy: one for applying a cleaning solution and a second, totally dry one for that final polish to eliminate any lingering streaks.
Next up is the cleaning solution itself. This is where a lot of people go wrong. Your screen has special anti-glare and oleophobic (oil-repelling) coatings that are surprisingly fragile. The wrong chemical can strip them right off.
Crucial Tip: Never, ever use a cleaner that isn't specifically marked as alcohol-free and ammonia-free. Common household products like glass cleaner or rubbing alcohol are way too harsh. They will eat away at those protective coatings over time, leaving your display looking cloudy and permanently damaged.
Essential Extras for a Deeper Clean
To take your cleaning from just "good" to "like-new," a couple of extra tools can make a huge difference. These help you clear out all the grime that gathers around the screen, which keeps it from getting dirty again a minute after you've finished.
- A Soft-Bristled Brush: This is perfect for gently dusting off bezels, speaker grilles, and the nooks and crannies of your keyboard before you start wiping the screen. It stops you from accidentally dragging a piece of grit across the display.
- Compressed Air: For those really stubborn spots in ports and vents, a can of compressed air is your friend. Just remember to use it in short, controlled bursts from a safe distance to avoid any moisture spray.
Having this simple kit ready to go means you can clean your screen safely and effectively whenever it needs it. If you want a deeper dive into picking the best products, this ultimate screen cleaner buying guide will help you make a smart choice.
The Professional Method for a Streak-Free Screen
Alright, you've got your gear ready. Now let's get that screen looking like it just came out of the box. Following a specific process is the key to getting a perfect, streak-free finish every single time, all without risking any damage. Think of it less as a chore and more as a careful technique.
Always Power Down Your Display First
Before you even think about cleaning, the absolute first thing you must do is power down your computer or monitor. This is a critical safety step, so don't skip it. A cool screen prevents your cleaning solution from evaporating instantly, which is a major cause of those annoying streaks.
Even better, a dark, unpowered screen acts like a black mirror, revealing every last fingerprint, smudge, and speck of dust. You’d be amazed at what you can’t see when the screen is lit. This one simple move makes the entire job easier and more effective.
Clear Away Loose Debris
Next up, we need to handle the surface-level gunk. If you jump right in with a wet cloth, you’re basically just dragging tiny, abrasive dust particles across the screen. Over time, this can lead to micro-scratches. It's like sweeping the floor before you mop—you have to get the loose stuff out of the way first.
You’ve got a couple of great options here:
- A Soft-Bristled Brush: Gently sweep the brush over the screen and around the bezels. It’s perfect for lifting away dust without applying any real pressure.
- Compressed Air: For a no-touch approach, a few short bursts of compressed air (held at a safe distance) will blow away any loose particles. Just be sure not to hold the can too close or turn it upside down, which can spray liquid propellant onto your display.
This process—clearing solids, applying a solution, and then wiping—is the surefire way to do it right.
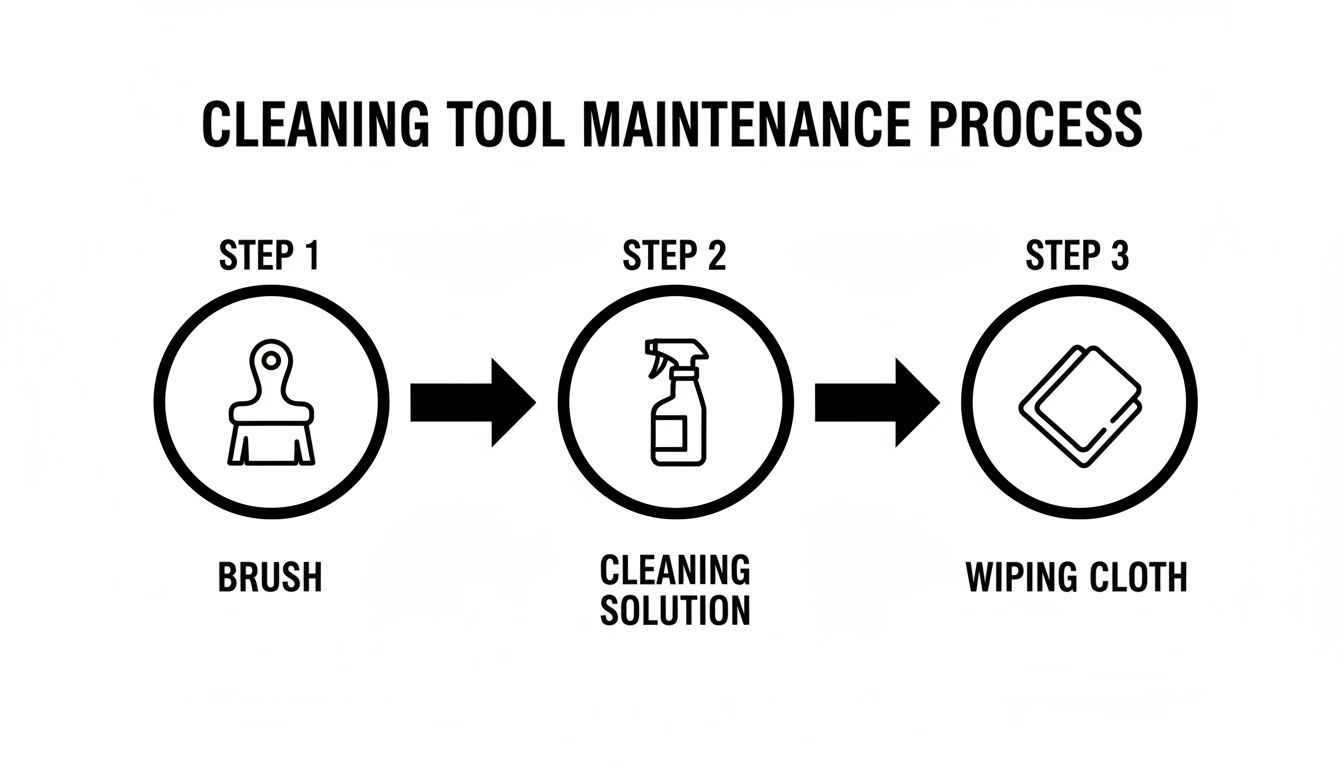
Following this flow ensures you're cleaning the screen, not just grinding dirt into it.
The Perfect Wipe-Down Technique
Now for the main event. Grab your alcohol-free screen cleaner and your go-to microfiber cloth. The most important rule to remember is to never, ever spray the cleaning solution directly onto the screen. Liquid has a nasty habit of seeping into the bezels and causing permanent damage to the electronics inside.
Pro Tip: Lightly mist your microfiber cloth with the cleaning solution. It should be just damp enough to clean effectively, not soaked. If your cloth is dripping, you've used way too much.
Start wiping the screen with gentle, consistent motions. I find that a steady top-to-bottom or side-to-side pattern works best, ensuring you cover every inch without just pushing the grime around. Avoid scrubbing hard or using frantic circular motions, as that’s a one-way ticket to a streaky mess. Let the cleaner and the cloth do the heavy lifting.
The core principles of using a gentle touch and the right materials apply to other delicate surfaces, too. If you want to dive deeper, you can see how similar techniques are used when you learn how to clean eyeglasses for crystal-clear vision.
As soon as you’re done wiping, grab your second, completely dry microfiber cloth. Give the screen a final, gentle buff to pick up any leftover moisture. This last step is what leaves you with that flawless, factory-fresh finish.
Adapting Your Technique for Different Screen Types
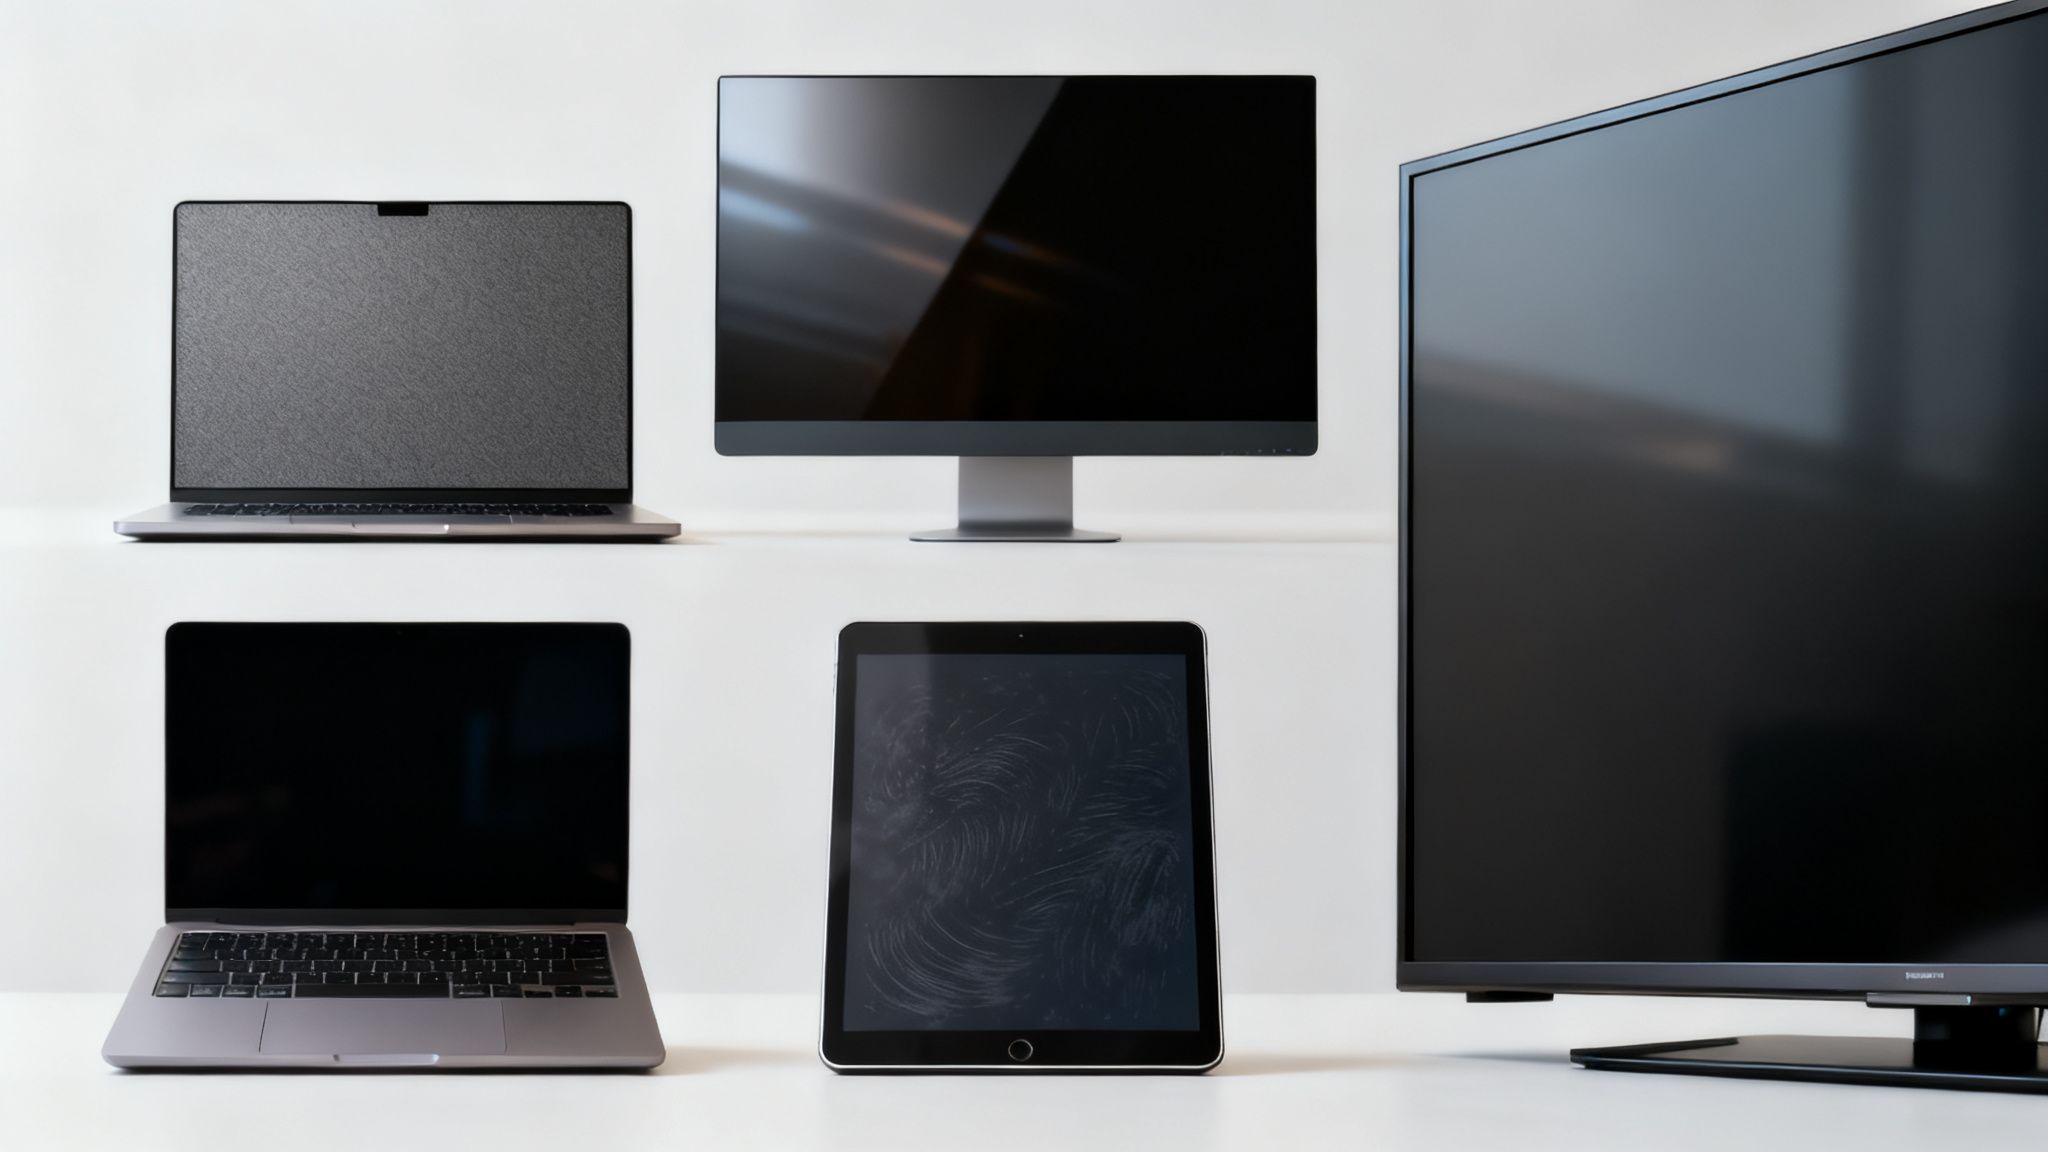
It’s tempting to think all screens are the same, but they really aren't. That tough, anti-glare matte display on your work laptop can handle a bit more than the hyper-sensitive OLED screen on your brand-new TV. Once you get the hang of adjusting your approach for each one, you'll be able to get a perfect, safe clean every single time.
The core rules don’t change—always power down, use a good microfiber cloth, and stick to an alcohol-free solution. The difference is in the details. If you use a one-size-fits-all method, you might end up with stubborn streaks on a glossy iMac or, even worse, damage the delicate coating on a touchscreen.
Laptops and Matte Displays
When you're cleaning a laptop, the screen itself is usually pretty durable; the real danger is the hardware around it. Think about it: keyboards, trackpads, and speaker grilles are all easy entry points for moisture. This is where the rule to spray the cloth, not the device, is absolutely non-negotiable.
Just a light mist on your cloth is all you need—enough to make it feel slightly damp, not wet. Wipe carefully around the edges and be mindful of the seam where the display panel meets the plastic or metal frame. Matte screens are fantastic at hiding fingerprints, but they seem to attract dust, so giving it a quick once-over with a soft, dry brush beforehand works wonders.
Glossy Monitors and All-in-Ones
Glossy screens, like the ones on iMacs and many high-end monitors, look amazing with their vibrant colors, but they also show every single smudge and streak. For these, the secret to a flawless finish is what I call the two-cloth method.
- The Cleaning Cloth: Take your lightly dampened microfiber cloth and wipe the screen in smooth, even strokes, usually from top to bottom.
- The Polishing Cloth: Before the moisture has a chance to air-dry and leave spots, immediately grab a second, completely dry microfiber cloth. Use light, circular motions to gently buff the surface until it's perfectly clear.
That quick buffing step is the game-changer. It’s what separates a "clean enough" screen from a "like new" one.
Touchscreens and 2-in-1 Devices
Touchscreens are obviously made to be touched, which means they are constantly covered in fingerprints and natural oils from our skin. Many of these devices have a special oleophobic (oil-repelling) coating that helps, but it’s surprisingly easy to strip away with harsh chemicals. You absolutely have to stick with an alcohol-free cleaner.
Since you're tackling oily residue, you might need your cloth to be a tiny bit more damp than for a standard monitor. The key, though, is to always be gentle. Let the cleaning solution do the heavy lifting of breaking down the oils; don't try to scrub them off with brute force.
Keeping your screen clean isn't just about looks—it's about preserving your investment. Regular, gentle cleaning can help the oleophobic coating on touchscreens last up to 40% longer. That’s a big deal when you consider that a portion of the $50 billion spent on screen replacements each year could be avoided with better care.
OLED and Premium TV Screens
This is where you need to be extra careful. Those beautiful OLED, QLED, and other premium TV screens are incredibly delicate. They have sensitive anti-reflective layers that can be permanently scratched or damaged with very little pressure. For these, your touch should be the lightest of all.
Think of it as guiding the cloth across the surface, not wiping it down. Just use the absolute minimum pressure needed to make contact. And because these screens are so large, sticking to a consistent top-to-bottom pattern is the best way to avoid ending up with a streaky mess. People are clearly taking device care seriously, as the global market for computer cleaners is on track to hit USD 1.62 billion by 2035. For a deeper dive into these trends, check out the report from Business Research Insights.
Common Screen Cleaning Mistakes That Can Ruin Your Display
Knowing the right way to clean your screen is only half the battle. Honestly, knowing what not to do is probably even more important. I've seen too many beautiful displays ruined by well-intentioned but misguided cleaning attempts. A few simple slip-ups can cause permanent, irreversible damage.
Let's start with the biggest one: reaching for a household glass cleaner. Things like Windex, or any other cleaner with ammonia or alcohol, are fantastic for windows but absolutely destructive to your screens. These chemicals are harsh and will strip away the delicate anti-glare and oleophobic coatings that manufacturers apply. The result? A screen that looks permanently cloudy or hazy.
Another all-too-common mistake is grabbing the wrong kind of cloth. A paper towel, dish rag, or even the corner of your shirt might seem handy, but they're surprisingly abrasive. These materials are famous for leaving behind a network of tiny micro-scratches. You might not notice them after one wipe, but the damage builds up over time, eventually dulling your display. Always, always stick to a clean, high-quality microfiber cloth.
The Dangers of Pressure and Liquid
This is where things can go wrong, fast. It's so tempting to scrub at a stubborn fingerprint, but applying too much pressure is a classic screen-killer. Pushing down hard can physically damage the liquid crystal pixels themselves, leading to those dreaded dead pixels—the little black or colored dots that will haunt you forever. Remember, you're trying to gently lift the grime away, not force it into submission.
Spraying cleaner directly onto the screen is just as risky. Gravity is not your friend here. The liquid will inevitably run down into the bezel at the bottom, where it can seep inside and fry the electronics. It’s an expensive mistake that's incredibly easy to prevent.
The golden rule of screen cleaning: Always spray the cleaning solution onto your cloth, never directly onto the screen.
By the way, it's also crucial to know what you're dealing with before you start. You need to be able to distinguish true screen damage from mere smudges so you don't waste time trying to clean a hardware fault.
Finally, don't forget the rest of the setup! Wiping down the screen but leaving the frame, stand, and base covered in dust just means that dust will be right back on your clean screen in no time. A truly thorough job involves cleaning the entire unit for a workspace that stays clean longer. If you can just sidestep these common pitfalls, you’ll keep your display looking sharp and vibrant for years to come.
How to Keep Your Screen Cleaner for Longer
Getting a screen perfectly clean is one thing, but keeping it that way is the real goal. The trick isn't about more cleaning, but about building a few smart habits that stop dust and smudges from taking over in the first place.
Think of it less as a big cleaning project and more as simple, ongoing maintenance. You’d be surprised how much of a difference a few small tweaks to your weekly routine can make. For example, try setting aside just two minutes every Friday afternoon for a quick dusting before you log off for the weekend.
Create a Low-Maintenance Environment
Where you put your screen and how you interact with it matter a lot. Try to position your monitor away from direct sunlight. Glare from a window acts like a spotlight, highlighting every speck of dust and making a relatively clean screen look filthy.
Here's another easy one: stop touching the screen. It sounds obvious, but it’s a hard habit to break. If you're constantly pointing things out to coworkers, train yourself to use the mouse cursor instead of your fingertip.
A clean screen is a core component of workspace wellness. Poorly maintained screens can harbor 1,000x more bacteria than a toilet seat, and proper care can slash potential repair costs by 35%. With device hygiene awareness spiking, a bi-weekly routine is a small investment for significant returns. Discover more insights about the growing importance of screen care.
These tiny adjustments, along with keeping a great screen cleaner and microfiber cloth kit within arm's reach, are all it takes to maintain a consistently clear and professional-looking setup.
Your Top Screen Cleaning Questions, Answered
Alright, even with the best instructions, there are always those lingering "what if" questions. I get them all the time. Let's clear up some of the most common ones so you can clean every screen in your house like a pro.
Can I Get Away With Just Using Water?
Look, if you're in a real pinch, a tiny bit of distilled water on a microfiber cloth is better than nothing—and it’s definitely better than tap water, which will leave ugly mineral spots all over your screen.
But here’s the reality: water just doesn't cut it for oily fingerprints. It might spread the smudge around, but it won't break down and lift the gunk. For that truly crystal-clear, streak-free look, you really need a proper, alcohol-free screen cleaning solution. It's designed to do the job safely and effectively.
How Often Should I Actually Be Cleaning My Screen?
This really comes down to your environment and how you use your devices. A good rule of thumb is to give your screen a quick, dry wipe with a microfiber cloth about once a week. This keeps the everyday dust from settling in.
For a proper deep clean with a spray solution, once every two to four weeks is usually plenty for most people.
Of course, if you've got a touchscreen you're poking at all day, or if your desk is in a dusty spot, you'll probably want to clean it more often. Basically, whenever the smudges start bugging you, it's time for a clean.
What's the Secret to Getting Rid of a Really Stubborn Smudge?
The trick here is patience, not muscle. The absolute worst thing you can do is start scrubbing or pressing harder. That’s how you get dead pixels and permanent damage.
Instead, grab a clean section of your microfiber cloth and apply a little extra cleaning solution to it. Now, just gently hold that damp spot on the stubborn smudge for a few seconds. Let the solution do the work by breaking down the grime.
Once it's had a moment to soak in, wipe it away with a gentle circular motion. The key is to immediately follow up with a dry part of the cloth to buff the area, leaving no moisture behind.
Ready to get that flawless, streak-free shine every time? The EVEO Screen Cleaner and Microfiber Cloth Kit has everything you need to clean your screens safely and effectively. Get yours today at https://eveo.store.
The Definitive Guide to Vinyl Record Storage Containers
How to Organize Computer Cables for a Clutter-Free Workspace