
It's simple, really. Knowing how to properly clean a computer screen comes down to two things: a dry microfiber cloth for everyday dust, and a cloth lightly dampened with an alcohol-free screen cleaning solution for smudges. The golden rule? Always spray the cloth, never the screen itself, and wipe gently. This is the secret to avoiding damage and those frustrating streaks.
Why a Clean Screen Is Your Secret Productivity Tool
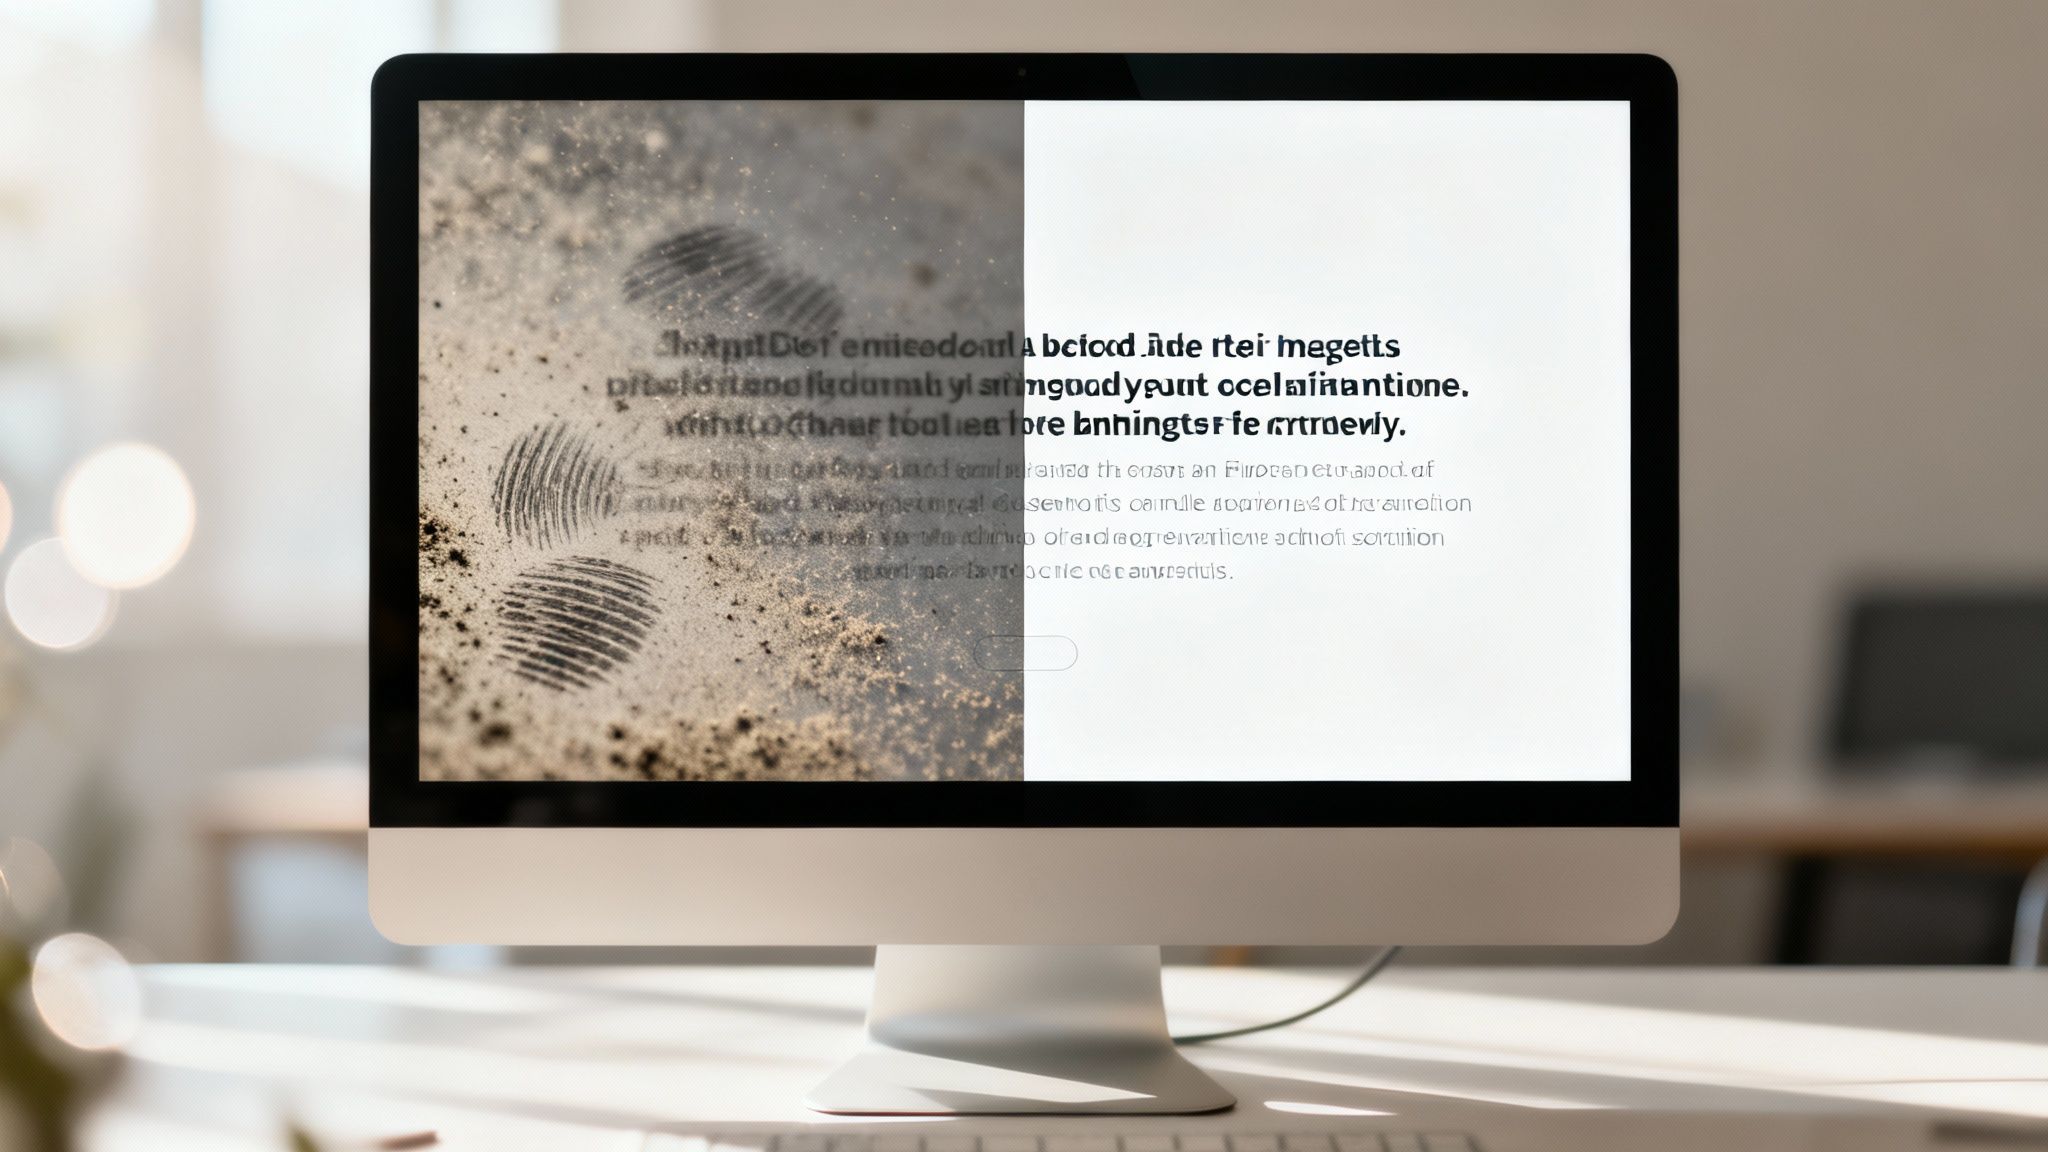
That subtle layer of dust, fingerprints, and smudges on your monitor does more than just look unprofessional—it's actively sabotaging your focus. A dirty screen is like trying to read a book through a foggy window. All that grime diffuses the light coming from your display, which kills sharpness and forces your eyes to work harder just to focus on text and images.
This constant, low-level effort is a direct cause of digital eye strain. It often leads to headaches, fatigue, and a noticeable drop in productivity. You might not even realize it's happening, but your brain is constantly trying to compensate for all that visual "noise" on the screen.
The Hidden Dangers of Improper Cleaning
It’s tempting to grab the nearest household glass cleaner or a paper towel for a quick fix, but this is one of the worst things you can possibly do. Modern displays—from matte anti-glare monitors to glossy OLED panels—have delicate coatings that are absolutely essential for their performance.
- Anti-glare coatings are amazing at minimizing reflections, but they are easily stripped by harsh chemicals like ammonia or alcohol. The result? Permanent, hazy patches on your screen.
- Oleophobic coatings on touchscreens are designed to repel oils from fingerprints. Using the wrong cleaner wears them down, making smudges look even worse over time.
Using the wrong stuff can also leave behind streaks that, according to some display tech studies, can reduce visibility by up to 30%. This forces you to squint and work harder, defeating the whole purpose of cleaning in the first place. A gentle, alcohol-free screen cleaner isn't just a suggestion—it's non-negotiable.
Maximizing Your Visual Workspace
The benefits of a pristine screen are magnified in high-performance setups. If you're using a high-resolution 4K monitor, every single pixel counts, and a clean surface ensures you’re getting the crisp detail you paid for.
This is especially true for multi-monitor arrangements where visual consistency is everything. Maintaining a clear visual field is just as critical as finding the best monitor arms for dual monitors to transform your physical desk space.
A clean screen isn't just about aesthetics; it's an ergonomic necessity. Just like an adjustable chair or proper lighting, a clear display reduces physical strain and allows you to work more comfortably for longer periods.
Choosing the Right Tools for a Perfect Clean
Before you even think about touching your screen, let's talk gear. Getting the right supplies is easily the most important part of the whole process. It’s what separates a crystal-clear, satisfying finish from a screen full of permanent, heartbreaking damage. It's not just about what you use, but why you use it.
The undisputed champion of screen cleaning is the microfiber cloth. It's a non-negotiable. Unlike an old t-shirt or a roll of paper towels, which are full of abrasive fibers just waiting to create tiny scratches, microfiber is engineered to be gentle. Its unique, split fibers are designed to grab and lift away dust, oil, and grime, not just smear it around.
Finding a Safe Cleaning Solution
Sometimes, a dry cloth just won't cut it for those stubborn fingerprints or smudges. When you need a little more power, you'll want a cleaning solution. The absolute key here is to find one that is both alcohol-free and ammonia-free. These chemicals are great for windows, but they're a disaster for computer screens. They can strip away the delicate anti-glare and oleophobic (oil-repellent) coatings that make your screen so easy to look at.
Using the wrong cleaner is a fast track to a ruined display. In fact, repair shop data shows that harsh chemicals can wear out anti-glare layers 40% faster. Even worse, liquid seeping into the bezel—which often happens when you spray directly on the screen—accounts for a shocking 15% of device failures.
Your safest bet is always a professionally formulated screen spray made specifically for electronics. It's designed to break down oils without eating away at your screen's sensitive coatings. You can find more details on why specialized cleaners are a growing market in industry reports on Verified Market Reports.
My rule of thumb is simple: if it wasn't made for electronics, don't let it anywhere near your screen. The risk of causing irreversible hazing, discoloration, or internal damage is just too high.
Screen Cleaning Do's and Don'ts
To make things even clearer, here’s a quick-reference table. Think of it as your cheat sheet for protecting your tech investment. Getting this right is crucial, as the wrong choice can lead to damage that no amount of cleaning can fix.
| What to Use (The Do's) | Why It Works | What to Avoid (The Don'ts) | Why It's Harmful |
|---|---|---|---|
| Microfiber Cloth | Ultra-soft, non-abrasive fibers trap dust and oil without scratching or leaving lint behind. | Paper Towels & Tissues | Made from wood pulp, these are abrasive and can cause micro-scratches. They also leave lint. |
| Distilled Water | Free of minerals that can leave behind chalky residue or streaks. A safe, gentle option. | Tap Water | Contains minerals and impurities that can leave spots and streaks on your screen once dried. |
| Alcohol/Ammonia-Free Spray | Specially formulated to dissolve oils without damaging delicate anti-glare or oleophobic coatings. | Windex & Glass Cleaners | Most contain ammonia, which strips protective screen coatings, causing a cloudy, hazy appearance. |
| Compressed Air (used properly) | Safely blows away loose dust and debris from crevices without physical contact. | Rubbing Alcohol | Far too aggressive. It can make plastics brittle, dissolve coatings, and cause discoloration. |
Ultimately, choosing the right tools is about preventing problems before they start. A little care and the correct materials will keep your screens looking factory-fresh for years.
Why Common Household Items Are a Bad Idea
It's tempting to just grab whatever is under the sink, but these everyday items are a recipe for a screen-cleaning disaster:
- Paper Towels & Tissues: As mentioned, they're basically fine-grit sandpaper for your screen. They leave behind lint and will create a web of fine scratches over time.
- Windex & Glass Cleaners: Most are loaded with ammonia. This will absolutely destroy your screen's protective layers, leading to a cloudy, uneven, and permanently damaged display.
- Rubbing Alcohol: Pure alcohol is way too harsh. It can cause the plastics in your monitor's bezel to become brittle and will dissolve the coatings on the screen itself.
If you want to eliminate the guesswork, a dedicated kit is the way to go. Products like the EVEO Screen Cleaner package the right kind of alcohol-free solution with a high-quality microfiber cloth. It ensures you have exactly what you need for a perfect, safe clean every single time.
For a deeper dive, check out our ultimate screen cleaner buying guide to help you make the best choice for your gear.
The Proven Method for a Streak-Free Finish
Alright, you've got the right gear. Now let's put it to work. Getting that perfect, streak-free shine isn’t about scrubbing harder—it's about being methodical. This is the exact technique the pros rely on to get a crystal-clear result every single time.
First thing’s first: power down your device completely. Unplug your monitor or shut down your laptop. This isn’t just for safety. A black screen is the perfect canvas for spotting every last speck of dust, smudge, and fingerprint. You simply can't see what you're really up against on a lit screen.
The Initial Dry Wipe
Before a single drop of liquid touches your screen, your first pass should always be dry. Grab a clean, dry microfiber cloth and gently wipe the display. The goal here is just to lift off any loose particles—dust, pet hair, or other light debris just sitting on the surface.
Think of it as dusting, not scrubbing. Keep the pressure light. This step is critical because it gets rid of abrasive bits that could get dragged around and cause micro-scratches once you add moisture.
Mastering the Cleaning Motion
With the dust gone, it's time to tackle the fingerprints and smudges. This is where your technique really makes a difference.
Here’s a quick look at the right way to approach it, highlighting the essential tools and what to avoid at all costs.
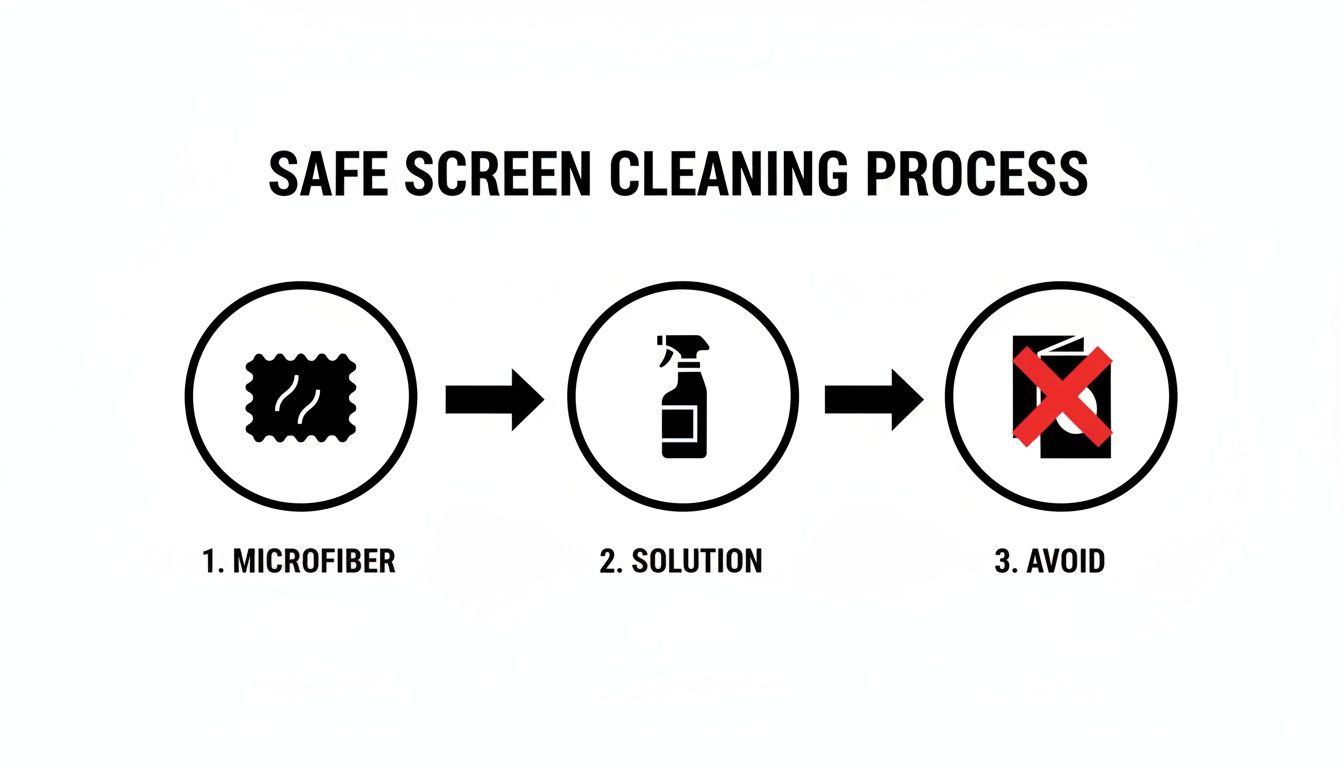
It’s a simple flow: start with microfiber, use a proper solution, and stay far away from paper towels or tissues.
Now, take your approved alcohol-free cleaning solution and lightly spray it onto a different, clean section of your microfiber cloth. I can't stress this enough: never, ever spray directly onto the screen. This is the golden rule. Spraying the screen directly lets liquid drip down into the monitor’s bezel, where it can seep inside and cause permanent damage.
Using gentle, overlapping motions, wipe the screen from top to bottom in straight lines. Try to avoid swirling or scrubbing in tight circles—that's how streaks happen. A consistent top-to-bottom motion ensures even coverage and pulls all the grime down and off the screen.
If you run into a stubborn smudge, you can apply slightly more pressure right on that spot, but resist the urge to scrub. Let the solution do its job breaking down the oils.
For those who want an even simpler process, high-quality electronic screen cleaner wipes are a fantastic, pre-moistened alternative that takes the guesswork out of it.
The Final Buff for a Flawless Finish
Once you've cleaned the entire screen with the dampened cloth, there’s one last step to nail the landing: the final buff.
Take a third, completely dry and clean area of your microfiber cloth (or just grab a separate dry one) and gently wipe the screen one last time.
Use that same top-to-bottom motion to pick up any remaining moisture. This final pass removes any hint of residue from the cleaning solution and is the real secret to a perfectly clear, polished surface with zero streaks.
Adapting Your Technique for Different Screen Types
Not all screens are made the same, and knowing what you're working with is the first step to cleaning it safely and effectively. The glossy display on your laptop is fundamentally different from the textured, anti-glare monitor on your desk, and your approach should reflect that. This is the key to learning how to clean a computer screen without causing accidental, and often expensive, damage.
The most common distinction you'll run into is between glossy and matte finishes. Glossy screens deliver those punchy, vibrant colors we all love, but they're absolute magnets for fingerprints and glare. Matte screens, on the other hand, have a special anti-glare etching that does a beautiful job of diffusing light.
That same textured surface, however, can make oils from fingerprints a little more stubborn to remove. While the core method—a gentle wipe with a microfiber cloth—works for both, you might find a matte screen needs a slightly more methodical pass with a dampened cloth to really lift the grime from its micro-textured surface.
Handling Modern OLED and LED Displays
Today's brilliant but delicate OLED and LED panels demand an extra-gentle touch. These screens use organic compounds or tiny diodes that are extremely sensitive to pressure. If you press too hard while cleaning, you risk permanently damaging the pixels, which can lead to dead spots or weird color distortions. Nobody wants that.
When cleaning these advanced screens, the mantra is minimal pressure. Let the cleaning solution and the microfiber cloth do the heavy lifting for you. Your job is to simply guide the cloth across the surface, not scrub it. For the sake of your display's lifespan and integrity, this gentle approach is non-negotiable.
This kind of careful device care is becoming more and more important. In fact, the global screen cleaner market is expected to hit $2.1 billion by 2025. It's not just about aesthetics; professionals in North America have reported a 25% improvement in focus after cleaning their screens. A clear screen really does lead to a clear mind. You can discover more insights on this growing market over at Verified Market Reports.
Special Care for Touchscreens
Touchscreens are in a league of their own. Since we're constantly poking and swiping at them, they're a hotspot for fingerprints, oils, and bacteria. The challenge is getting them clean without damaging the special coating that makes them feel so smooth and responsive.
Most touchscreens are treated with an oleophobic coating, which is just a fancy term for a microscopic layer that repels oil and helps fingerprints wipe away easily. If you use harsh chemicals like alcohol or ammonia-based window cleaners, you'll strip that coating right off. Over time, this makes the screen feel less slick and causes smudges to stick far more aggressively.
For touchscreens, stick to alcohol-free cleaners, no exceptions. Since you’ll probably be cleaning them more often, using the right stuff is even more critical.
Pro Tip: When you're cleaning a touchscreen, pay close attention to the edges and corners where grime loves to accumulate. I like to use the corner of a folded microfiber cloth to gently get into those spots without applying too much pressure.
By tailoring your technique to your specific screen type, you can guarantee a safe, streak-free clean every single time. It’s a thoughtful approach that protects your investment and keeps your view of the digital world crystal clear.
How a Tidy Workspace Keeps Your Screen Cleaner Longer
Knowing the right way to wipe down your screen is half the battle. The real secret to keeping it spotless is looking at what’s around your monitor. Think of your desk as its own little ecosystem—a cluttered, dusty space is a direct pipeline for a grimy, distracting screen.
Every stack of paper, tangled cable, and random knick-knack is just a landing pad for dust. The minute you turn on a fan, open a window, or even just move around, all that dust gets kicked up into the air, and guess where it loves to settle? Yep, right on your display.
This is why a proactive approach always wins. An organized workspace isn't just about looking professional; it's a practical strategy for better screen hygiene. You'll spend less time cleaning and more time enjoying that crystal-clear view.
Create a Low-Dust Zone
The goal here is simple: give dust fewer places to hide. This doesn’t mean you need a sterile, minimalist desk, but a little intention goes a long way.
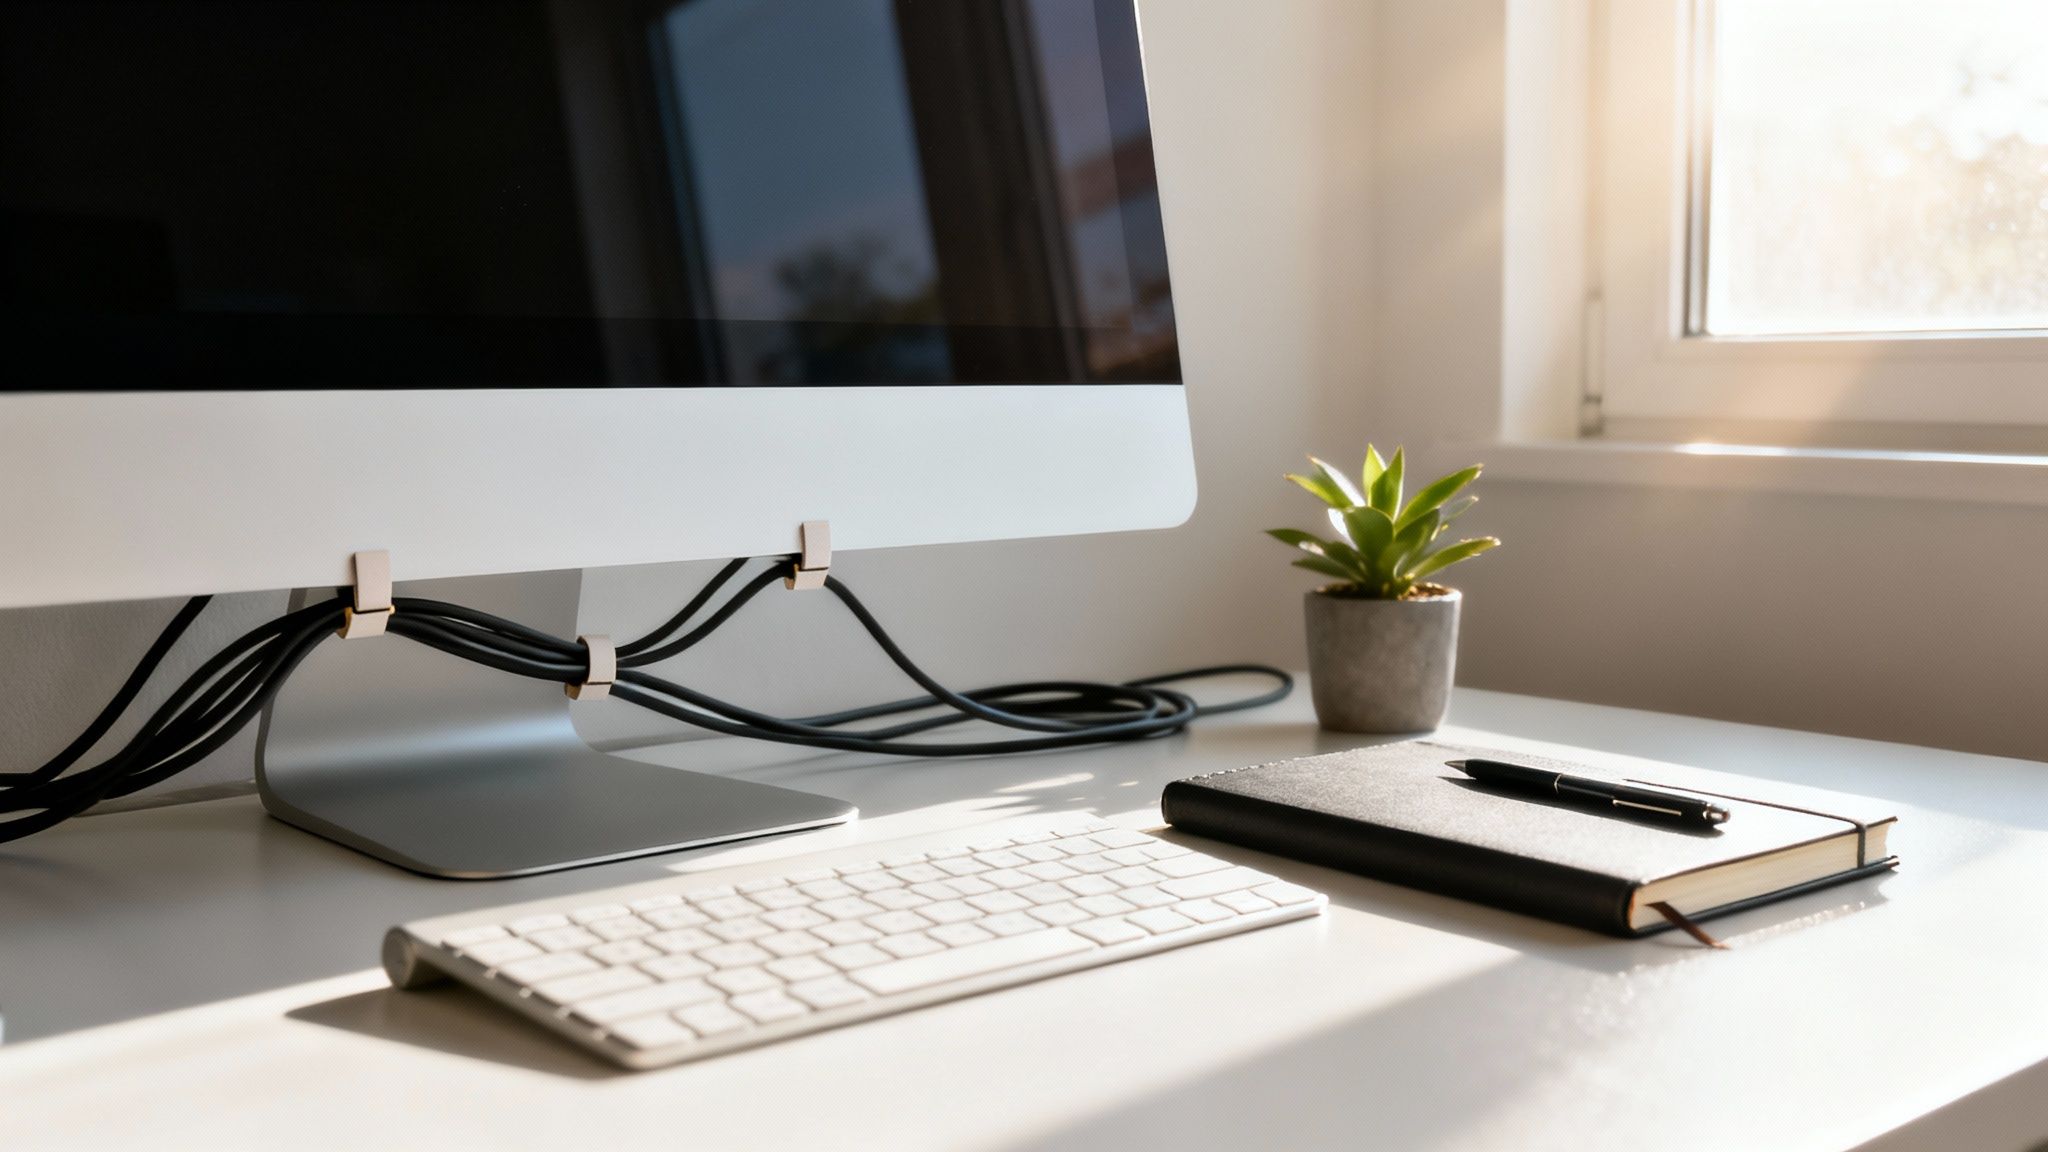
- Tame Your Cables: That nest of cables behind your monitor is a massive dust magnet. Simple tools like cable management sleeves or raceways not only look infinitely better but also eliminate a primary source of airborne dust right next to your screen.
- Make Dusting a Routine: Don't just clean the screen. Give your entire desk, keyboard, and monitor stand a quick wipe-down with a microfiber cloth once a week. This catches dust before it has a chance to migrate.
- Limit the Clutter: Take a hard look at your desk. What really needs to be there? Fewer items mean fewer dust traps and a much faster cleaning routine.
When you adopt this mindset, cleaning your screen stops being a constant chore and becomes a quick, occasional touch-up.
An organized desk does more than just reduce dust. It creates a focused environment that minimizes visual distractions, allowing you to concentrate better on the crystal-clear display you've worked to maintain.
How Often Should You Clean? It Depends.
There’s no magic number for how often to clean your screen. The right frequency is all about your environment. A busy office with old ventilation is going to need more attention than a quiet, well-filtered home office.
Here’s a general guide to get you started:
| Workspace Environment | Recommended Cleaning Frequency |
|---|---|
| Busy Office / High-Traffic Area | Dust weekly, deep clean every 1-2 weeks. |
| Home Office with Pets or Kids | Dust every few days, deep clean every 2 weeks. |
| Quiet, Clean Home Office | Dust weekly, deep clean every 3-4 weeks. |
The explosion of devices—over 1.5 billion smartphones were sold in 2021 alone—has pushed the screen cleaner market toward an expected $1.5 billion by 2026. This trend highlights a growing awareness of digital hygiene. For professionals, a simple cleaning every two weeks can slash bacteria by 99%, creating a healthier space to work. You can dive deeper into the screen cleaner market and its growth on Verified Market Reports.
Ultimately, when you integrate screen care into your overall workspace maintenance, it just becomes a natural habit. A clutter-free desk leads to a cleaner screen, which in turn leads to better focus and a more productive day.
Of course. Here is the rewritten section, crafted to sound like an experienced human expert and match the provided examples.
Common Questions About Cleaning Your Screen
Even when you follow the steps perfectly, questions are bound to come up. Getting the right answer can be the difference between a flawless finish and a moment of panic. Let's tackle some of the most common issues people run into.
Can I Just Use Water to Clean My Screen?
While pure, distilled water is much better than tap water (which will leave nasty mineral spots), it usually doesn't get the job done. Water alone simply can't break down the oils from fingerprints and smudges. You’ll find yourself just pushing the grime around instead of actually lifting it off the screen.
A good alcohol-free screen cleaner is designed specifically to dissolve those oils without leaving its own residue behind. And remember, too much liquid of any kind is a huge risk. If it seeps into the monitor's bezel, it can cause serious internal damage that can't be fixed.
How Do I Fix Streaks Left Over After Cleaning?
There's nothing more frustrating than finishing a clean only to see streaks left behind. The good news is, the fix is almost always simple. Streaks usually come from one of three things: a dirty cloth, too much cleaning solution, or the wrong kind of liquid.
First, try taking a fresh, completely dry microfiber cloth and gently buffing the screen. Use light, circular motions. This often does the trick.
If the streaks are being stubborn:
- Grab another clean, fresh cloth.
- Put a single, tiny spritz of a proper screen cleaning solution onto the cloth, not the screen.
- Gently wipe just the streaky areas.
- Immediately follow up by buffing it dry with a separate dry cloth.
Are Disinfecting Wipes Safe for My Monitor?
This is a hard no. Your standard household disinfecting wipes are one of the worst things you can use on a screen. They’re full of harsh chemicals like alcohol and ammonia that will literally eat away at the delicate anti-glare and oleophobic coatings.
Using them even once can cause permanent, hazy damage that looks like a cloudy film you can never wipe away. If you absolutely have to sanitize your equipment, you must use a disinfectant that is explicitly made for sensitive electronics and their screens.
Never assume a general-purpose cleaner is safe for your tech. The delicate chemical coatings on a modern screen are not designed to withstand the abrasive formulas used for kitchen counters or bathroom surfaces.
How Often Should I Really Be Cleaning My Screen?
Honestly, it depends entirely on your environment and how you use it. For a typical office or home setup, a quick dusting once a week and a proper cleaning every 2 to 4 weeks is more than enough.
But if your monitor is a touchscreen you handle all day, or if you live in a dusty area (or have pets!), you'll want to clean it more often. The goal is to maintain that crystal-clear view without overdoing it.
For a guaranteed safe and effective clean every single time, trust the tools designed for the job. The EVEO Screen Cleaner Kit gives you the streak-free solution and premium microfiber cloth you need to protect your investment and keep your view perfect. Discover the perfect cleaning solution at https://eveo.store.
The Best Monitor Arms for Dual Monitors and Ergonomic Setups
Your Ultimate Guide to TV Cable Cord Cover Installation